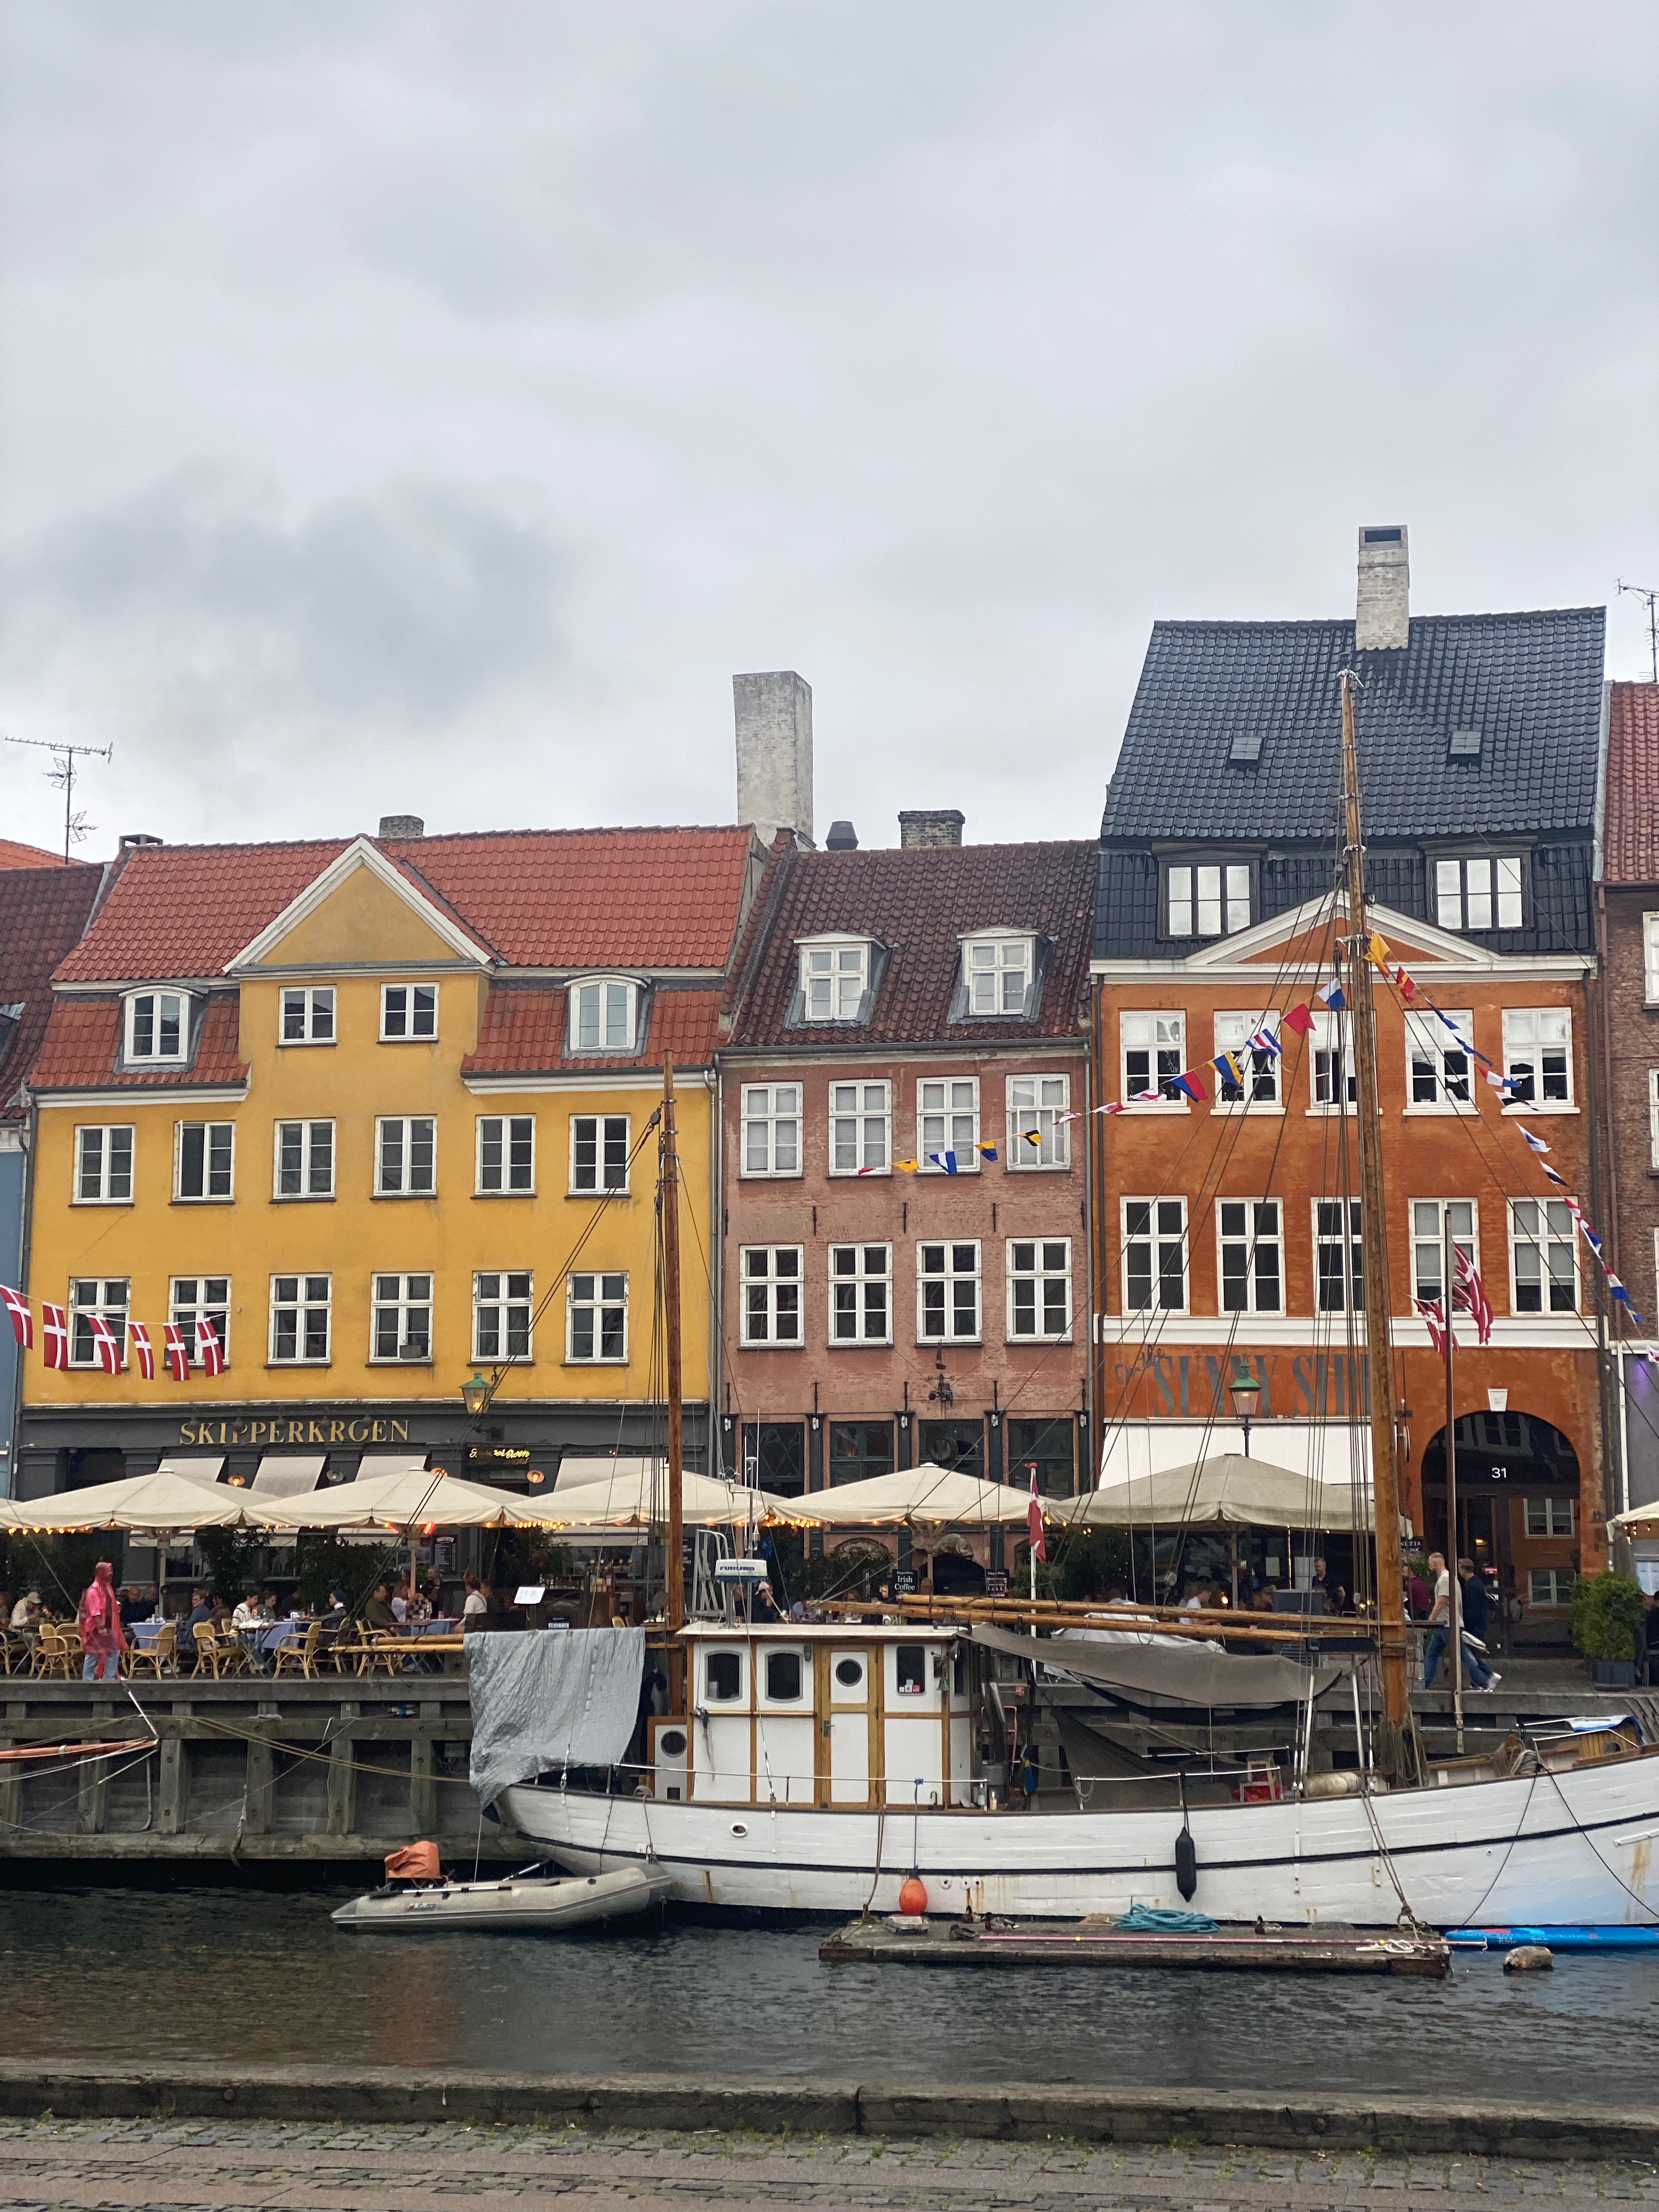
When we’re in Norfolk we often go back to a few tried and tested favourites when we eat out, as we tend to cook at home a lot and barbecue as much as the weather lets us.
But when we were up this summer we heard about this new restaurant that was supposed to be amazing! It seemed impossible to get a table, but when I looked online I found one for a Friday night in September that I booked immediately. So fun with a Norfolk date night and trying this new restaurant we’d heard so much about!

I liked what I saw as soon as we stepped into the Socius; an open kitchen with a bar counter, tables facing the show in the kitchen and a mezzanine floor with more tables upstairs. It was modern and airy; all I believe, to keep the focus on the marvellous food.


The menu consisted of small plates (love!) and some larger main courses. We chose a few different plates to start off with and they were all excellent. The bread and soft whipped butter that we had first was so good I knew we were in for a treat!

The tuna tartare with pickled ginger, spring onions and crispy wonton paper was a thing of beauty! It was hands down one of the best tuna tartares I have ever had. The fish melted in the mouth and the flavours were all complimentary but subtle so the tuna could really shine.


The next dish was heritage courgettes with almond gazpacho, mint and dill. I really wanted something fresh and this was so good! The almond gazpacho was more like a thick ajo blanco sauce in the bottom of the bowl so it coated every bite. Crispy croutons and almonds added texture and the leaves and herbs added another layer of freshness. I loved this!
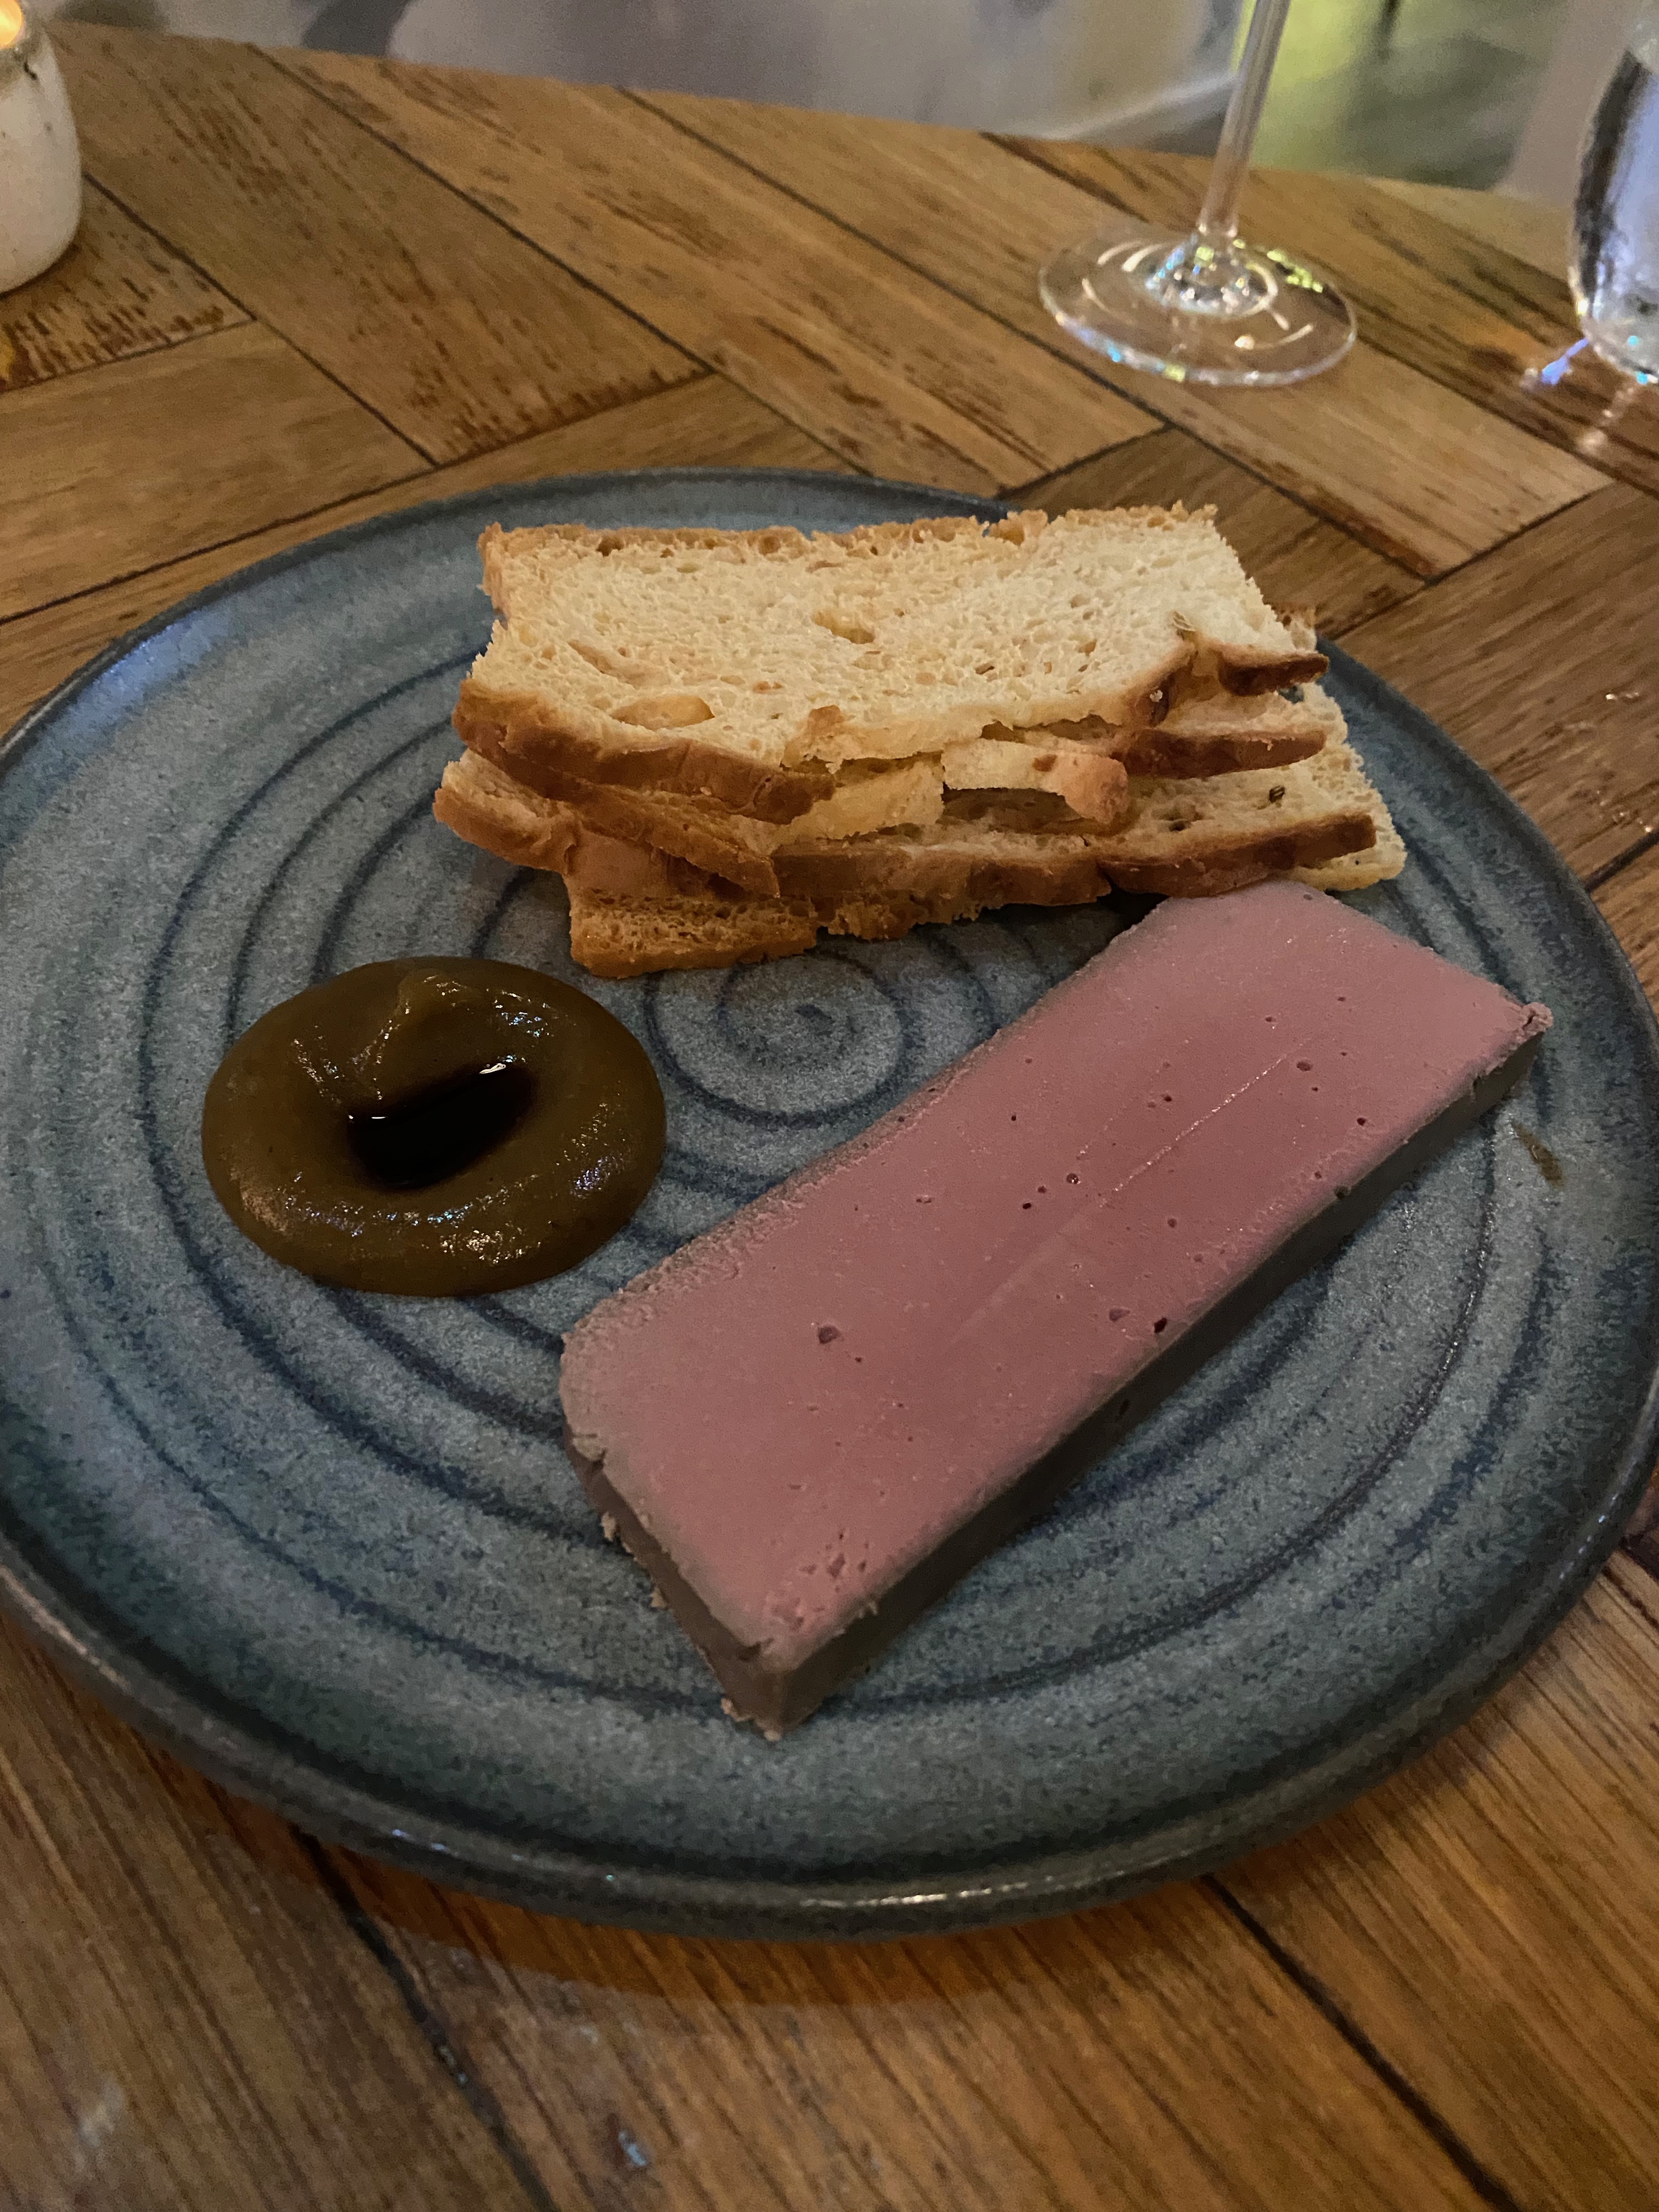
Our third dish was chicken liver parfait with toast, apple and port. This was very good, but didn’t stand out as much as the other two dishes. I really liked that the toast was the same focaccia we had to start, but probably from the day before and toasted, so it was used up. The apple sauce had a well of reduced (?) port in the middle which was really lovely with the parfait.

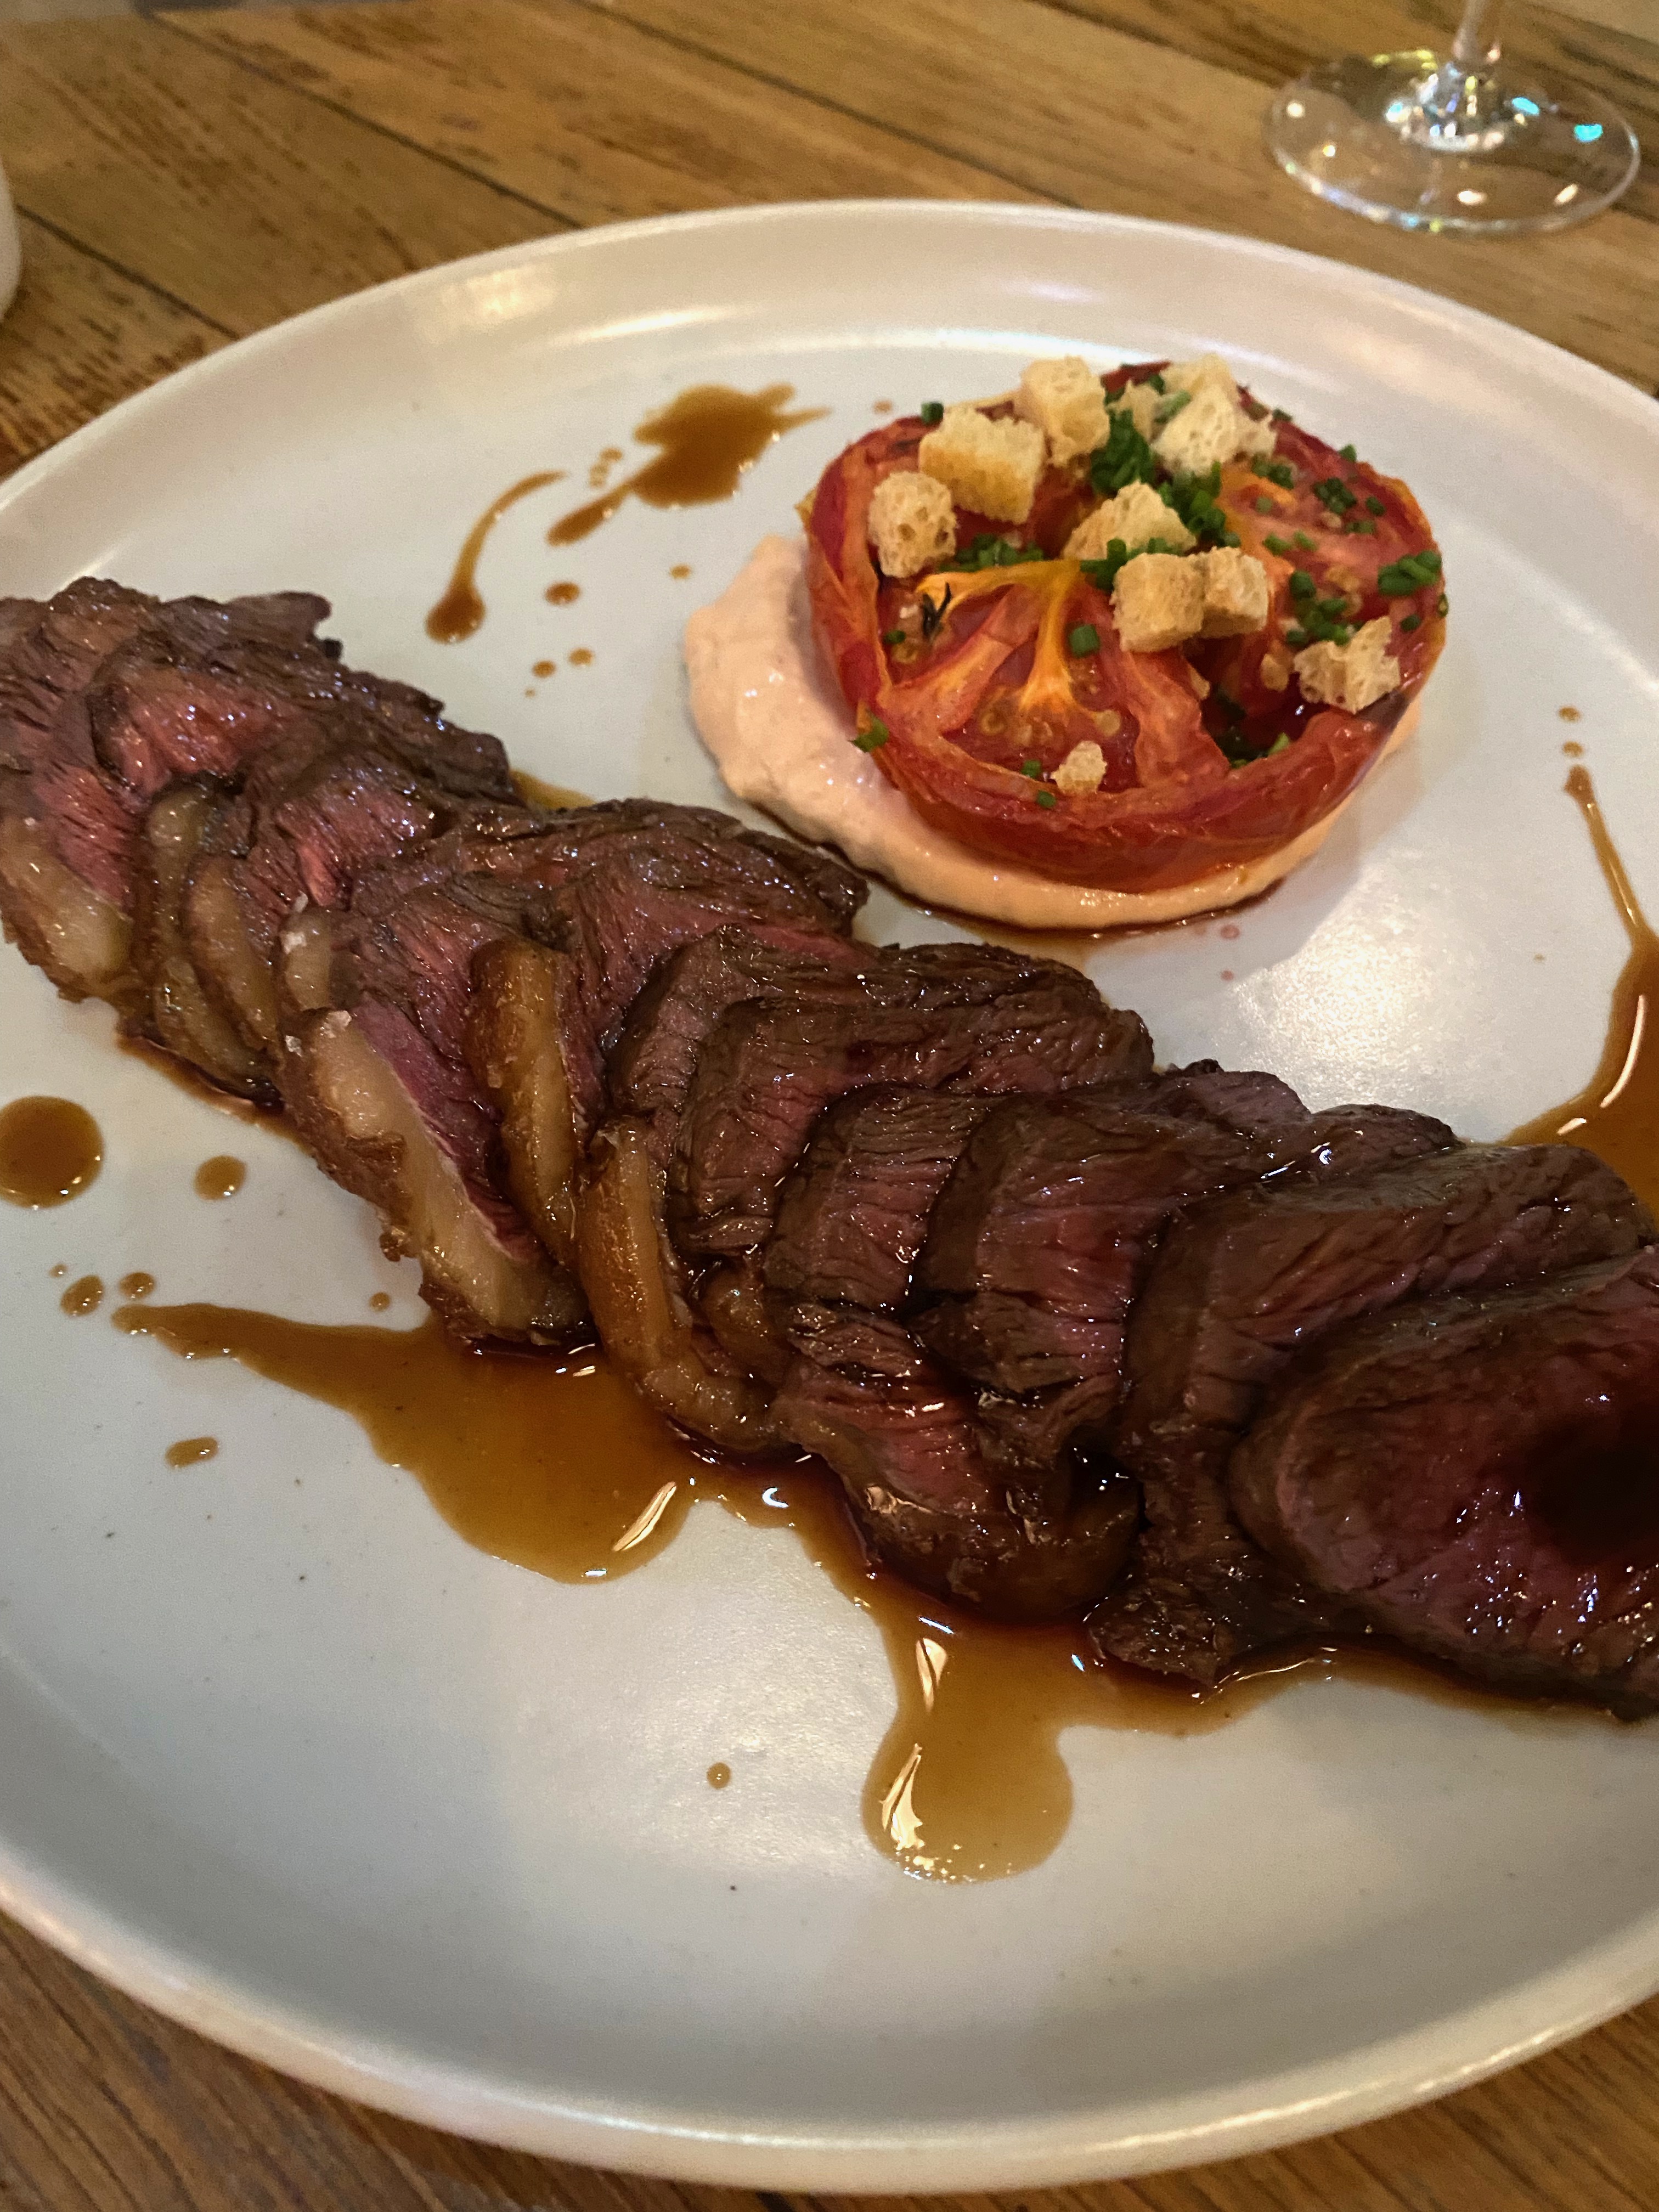
Next we had the steak that we had heard so much about! Aged picanha steak with roasted tomatoes, reuben aioli and the house rubbed chips. First of all, the portion was huge so well done to anyone who manages to eat the whole thing themselves! We shared it and that was perfect after the other three plates we had. The steak itself was perfection; full of flavour and so tender! The reuben aioli was interesting and I liked the flavour but it was a bit too “bitty” in texture for my liking. The chips were nice and crispy and very good, but I actually think I would have preferred them without the spice rub, as I felt it together with the reuben aioli took focus away from the excellent steak. But I understand the desire to jazz things up a little and make it your own. And it was very good!
I wish we had had space for pudding but even my pudding monster of a boyfriend had to stop after the steak. But I can’t wait to try any of the good looking desserts (spied at the tables around us) next time.

We had SUCH a lovely evening here. The atmosphere was professional but relaxed and the restaurant was buzzing this Friday night in September after the summer season had ended. Apart from a lovely date night with amazing food, good bubbly and red wine we also bumped into friends and another couple my boyfriend knew. So fun!
And I found out, when I went to the ladies as they have a lovely photo wall outside it, that the restaurant isn’t quite as new as I intitially thought. It was opened in 2018 so it took me four years to discover it, but I’m so glad I finally did, as I look forward to going back many many times.
Socius, 11 Foundry Pl, Burnham Market, King’s Lynn PE31 8LG