Recipe: Smashed Potatoes with Gruyère and Spring Onions

We’ve been eating these delicious smashed potatoes all spring and summer long, for good reason. They are very easy to throw together, and yet they elevate any supper or lunch while still keeping it casual.

The soft melted cheese combined with the sharp hints of spring onions and the crispy edged, yet soft inside potatoes, is just heaven! And they pair particularly well with barbecued steak or charred barbecue chicken and the most versatile sauce.

Smashed potatoes with Gruyère and spring onions, serves 4

800g-1kg baby new potatoes

3 tbsp mild olive oil

salt and pepper

4 tbsp grated gruyére

4 spring onions, washed, trimmed and finely sliced

Pre-heat the oven to 200C fan. Drizzle about 1 1/2 tbsp olive oil in a large ovenproof dish and add the potatoes. Season well and push them around with a spatula so that they are evenly coated with oil.

Place in the oven for approx 20 minutes or until golden brown and soft (larger potatoes take a little longer). Press down on each potato with a potato masher until flattened and “smashed”. Drizzle with the remaining olive oil (this will crisp up the edges as they continue to cook), scatter over the grated cheese and sliced spring onions. Add a little more salt and pepper and return to the oven for 10 minutes or until the potatoes are crispy and the cheese had melted.

Recipe: Pinxtos lunch

Every Saturday and Sunday we have more or less the same breakfast. Once in a while I might change it up with pancakes, French Toast or something, but we always have a big breakfast.

Which makes it a bit tricky to come up with a good, but not too big lunch. Because in the evening we usually have a big dinner. First world problems, absolutely. But recently I have come up with some good lunch options like the green tortilla pizza we both love and more recently I’ve made us pinxtos!

It stated with us out on an afternoon walk one weekend and getting hungry on the way back. Popping into a supermarket to buy some lunch I wanted something quick, with no cooking involved and so I raided the deli aisle and grabbed a baguette and got to work.

I personally love pinxtos and although these lack the finesse of some of the pinxtos bars in San Sebastien they are still lovely to eat, either for lunch like we did, or as a weekend starter or light supper. What you choose to top your baguette slices with is up to you, but I highly recommend ham and manchego, and if you have any omelette or frittata leftover that’s great too. A creamy cheese and cucumber is lovely and if you have smoked salmon it’s delicious mixed with mayonnaise.

Pinxtos, serves 2

10 slices fresh baguette

Various toppings such as:

Serrano + manchego

Le Roulé cheese + cucumber

Leftover frittata (heated up)

Bresaola + mayonnaise + crispy onions + tomato

Don’t butter the bread, just add the toppings! Serve straight away.

Recipe: Puff Pastry Pizza with Browned Butter, Creme Fraiche, Red Onions, Salmon Roe and Herbs

IMG_0958.jpeg

Puff pastry pizza seems to be trending in my native Sweden and inspired by Swedish foodie Tuvessonskan I thought I would give it a try too!

IMG_2895.jpeg

A adapted her recipe slightly but kept the idea of spreading a browned butter mixture over store-bought puff pastry, scatter with grated cheddar and bake it before adding the rest of the (very Scandinavian) toppings.

IMG_2919.jpeg

I love the classic combination of creme frachie, chopped red onions and fish roe and it works great on puff pastry too, especially when enhanced further with herbs and lemon.

IMG_2901.jpeg

Puff pastry pizza with browned butter, creme fraiche, red onions, salmon roe and herbs, serves 4 as nibbles or a starter

Adapted fromTuvessonskan’s recipe.

1/2 roll all butter puff pastry 

50 g butter

50 g philadelphia

2 tbsp creme fraiche

approx 200 ml grated cheddar

salt and pepper

Topping:

100 ml creme fraiche

1 jar salmon (or other fish) roe

1/2 red onions, finely chopped

a bunch chives, finely chopped

a bunch dill, finely chopped

1/2 lemon, the juice

salt and pepper

Brown the butter 30 minutes in advance. Leave to cool in room temperature. Mix the cooled butter with philadelphia and creme fraîche in a bowl. Add salt and pepper. Spread the mixture over the puff (leaving the edges bare if you like) and scatter with the cheddar. Bake in 200C fan or 220 C without fan until the puff is golden and the cheese has melted. Leave to cool. 

One the baked puff is cooled, spoon or pipe the creme fraîche onto it, then the salmon roe. Scatter with red onions and herbs. Season and finish by squeezing a bit of lemon juice over it. Cut into pieces (either cut in four and serve as a starter on plates or cut into small bites and serve on a tray or platter). 


Recipe: whole grilled turbot with olive oil, lemon and butter

IMG_9055.jpg

I spent almost a whole week in Norfolk with my boyfriend’s family at the end of August. We had gorgeous weather (hello heatwave!) and such a lovely time.

And it must have been the nice weather and the proximity to the sea that inspired one of his sisters to barbecue a whole fish. And not just any fish, but a large (huge!) turbot! It was a nice size for the amount of people to feed but it did look ridiculous on the little coal barbecue we insisted on using.

IMG_9940.jpegIMG_9058.jpg

Despite the poor optics it actually worked really well grilling the big fish and the actual cooking time was only approx 30 minutes. The hardest part was turning it over and making a secure tin foil parcel that size to hold all the butter!

I do hope we can inspire you to try new (and perhaps a little crazy) things! And I think any white fish would work well with this treatment; I mean lemon, olive oil and butter are pretty universal when it comes to fish – just adjust the cooking time.

IMG_9951.jpg

Whole grilled turbot with olive oil, lemon and butter, serves 8

1 whole turbot, gutted  (not sure how much it weighed but as you can see it was big!)

100-200 ml olive oil

salt, pepper

1 lemon, juice only

250 g butter

To serve:

chopped parsley

Rub or brush both sides of the fish with plenty of olive oil so it won’t stick to the barbecue. Season well on both sides. Grill each side for about 5 minutes then remove from the barbecue. Make a large foil packet to hold the fish and add plenty of dollops of butter on each side of the fish. Squeeze plenty of lemon juice on both sides as well and season well (again! – a large fish needs plenty of seasoning).  Close the foil package and put it on the barbecue and cover with a lid. Cook for approx 20 minutes (until the fish is flaky and comes off the bone). Scatter with chopped parsley. 

Recipe: nutella semifreddo

E06A5C83-D06C-4624-BD9A-0F14746DCA5A.jpeg

When I go to Sweden in the summer and for Christmas it’s quite hectic socially as I try to fit in friends and family. And as we all like to socialise around food there’s is also a lot of eating; both at home, at friends’ houses and out at restaurants.

At one lovely lunch this summer my best friend Emma had made this delicious semifreddo for pudding, and as the Nutella (and anything hazelnutty) aficionado that I am, I immediately asked for the recipe. And although this is a frozen dessert, it’s by no means reserved for summer – ice creams, semifreddo and parfait can be enjoyed year round!

Nutella semifreddo, serves 10

2 store-bought meringue bases

4 egg yolks

4 egg whites

2 tbsp caster sugar

500 ml double or whipping cream

400g lukewarm nutella

Separate the egg yolks from the whites. Add the whites and half of the sugar (1 tbsp) to a bowl and beat until stiff peaks. In a separate bowl, beat the egg yolks with the remaining sugar (1 tbsp) until pale and fluffy. Finally beat the cream in a third bowl until small peaks. 

Place the first meringue base in a springform (ø20-25 cm) and crush the other. Fold the egg yolk and egg white mixtures into the cream and add the crushed meringue. Drizzle in the lukewarm (to make it easier to pour – if too set microwave for a few second until runny) nutella. Pour the cream mixture into the springform, cover with cling and freeze for at least 4-5 hours, but preferably overnight, before serving.  

Recipe: barbecue chicken

IMG_0061.jpeg

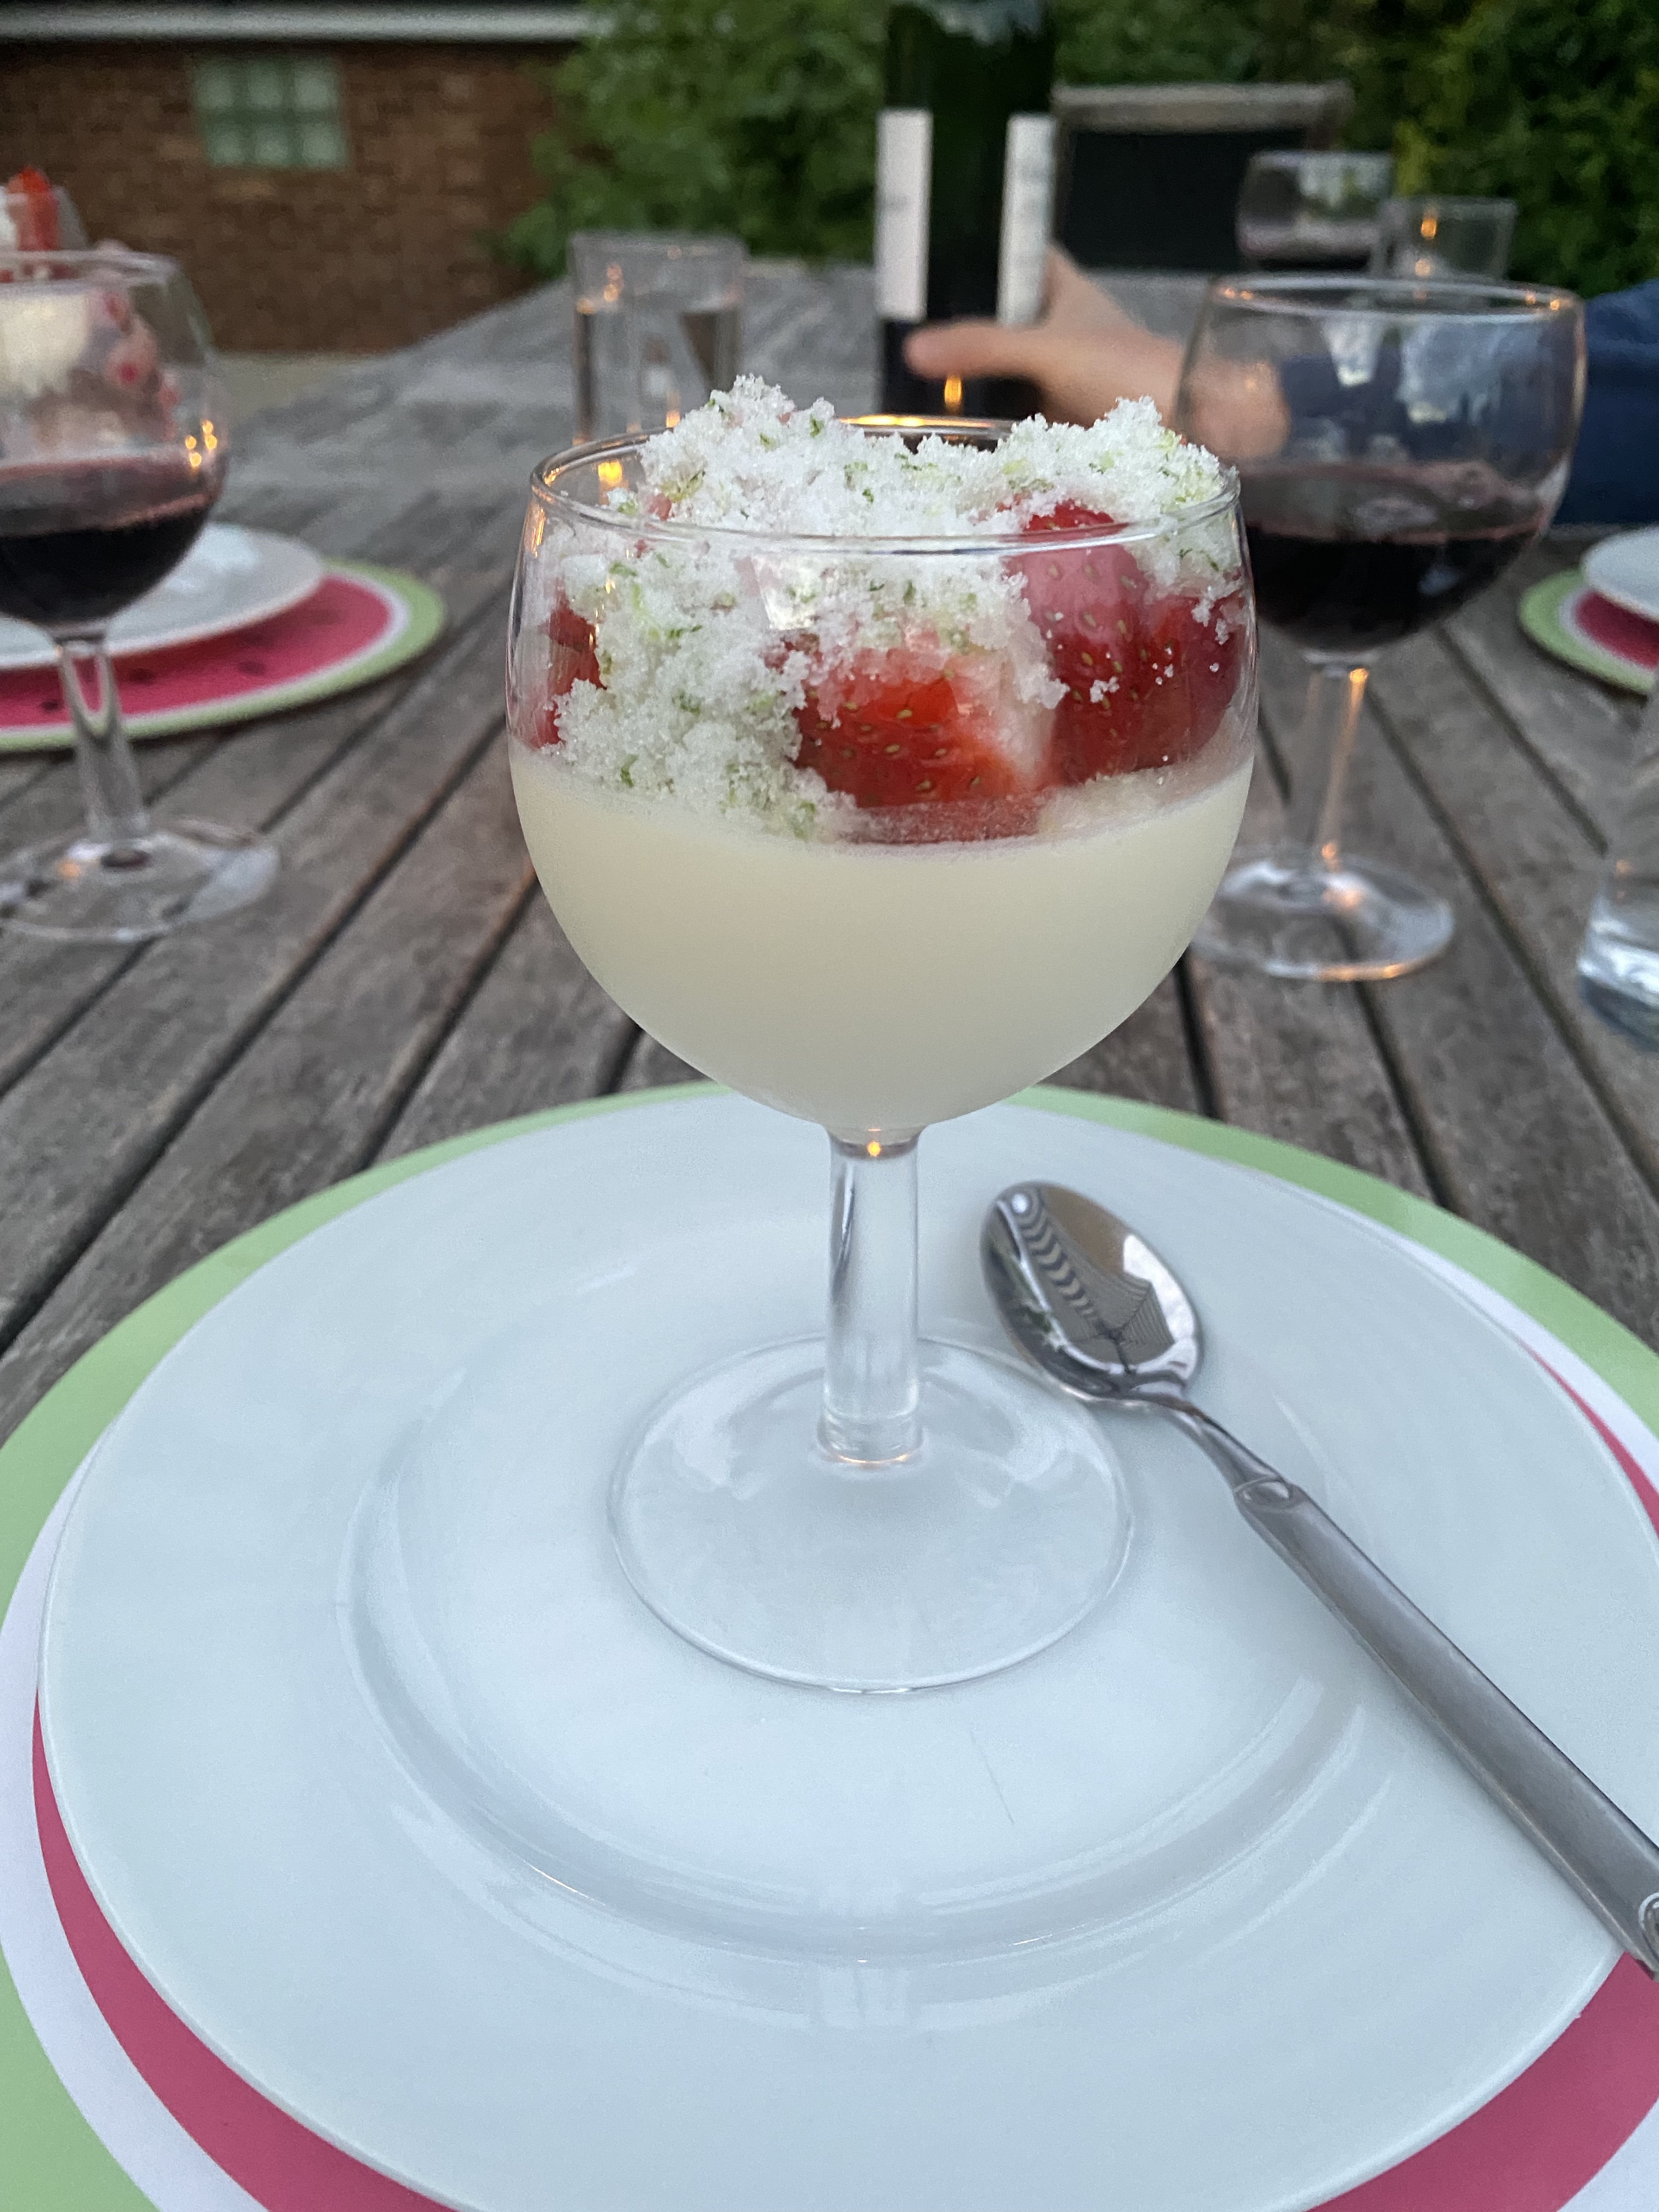
At times I get the most peculiar cravings. I guess it ties in with my way of eating; regardless of what it is I eat for pleasure, not just fuel. And most of the time my cravings are a combination of things my body needs and my favourite foods. Typical cravings are usually something with avocado, anything with burrata and sometimes proper comfort food. Often cheese of some kind, and sometimes fish.

IMG_7870.jpg

One beautiful summer’s day in Norfolk my body screamed for barbecued chicken. The sticky, charred kind. Maybe I needed protein but whenever I crave something fairly healthy I always try to give my body what it wants.

As we were in Norfolk and had access to a barbecue it was also much easier to make this happen, than if we’d been in London, so I went all in. I threw together a homemade barbecue sauce and marinated the whole spatchcocked chicken in it for a few hours and then got my darling boyfriend to light the barbecue. The coal one, thank you very much, not the gas barbecue!

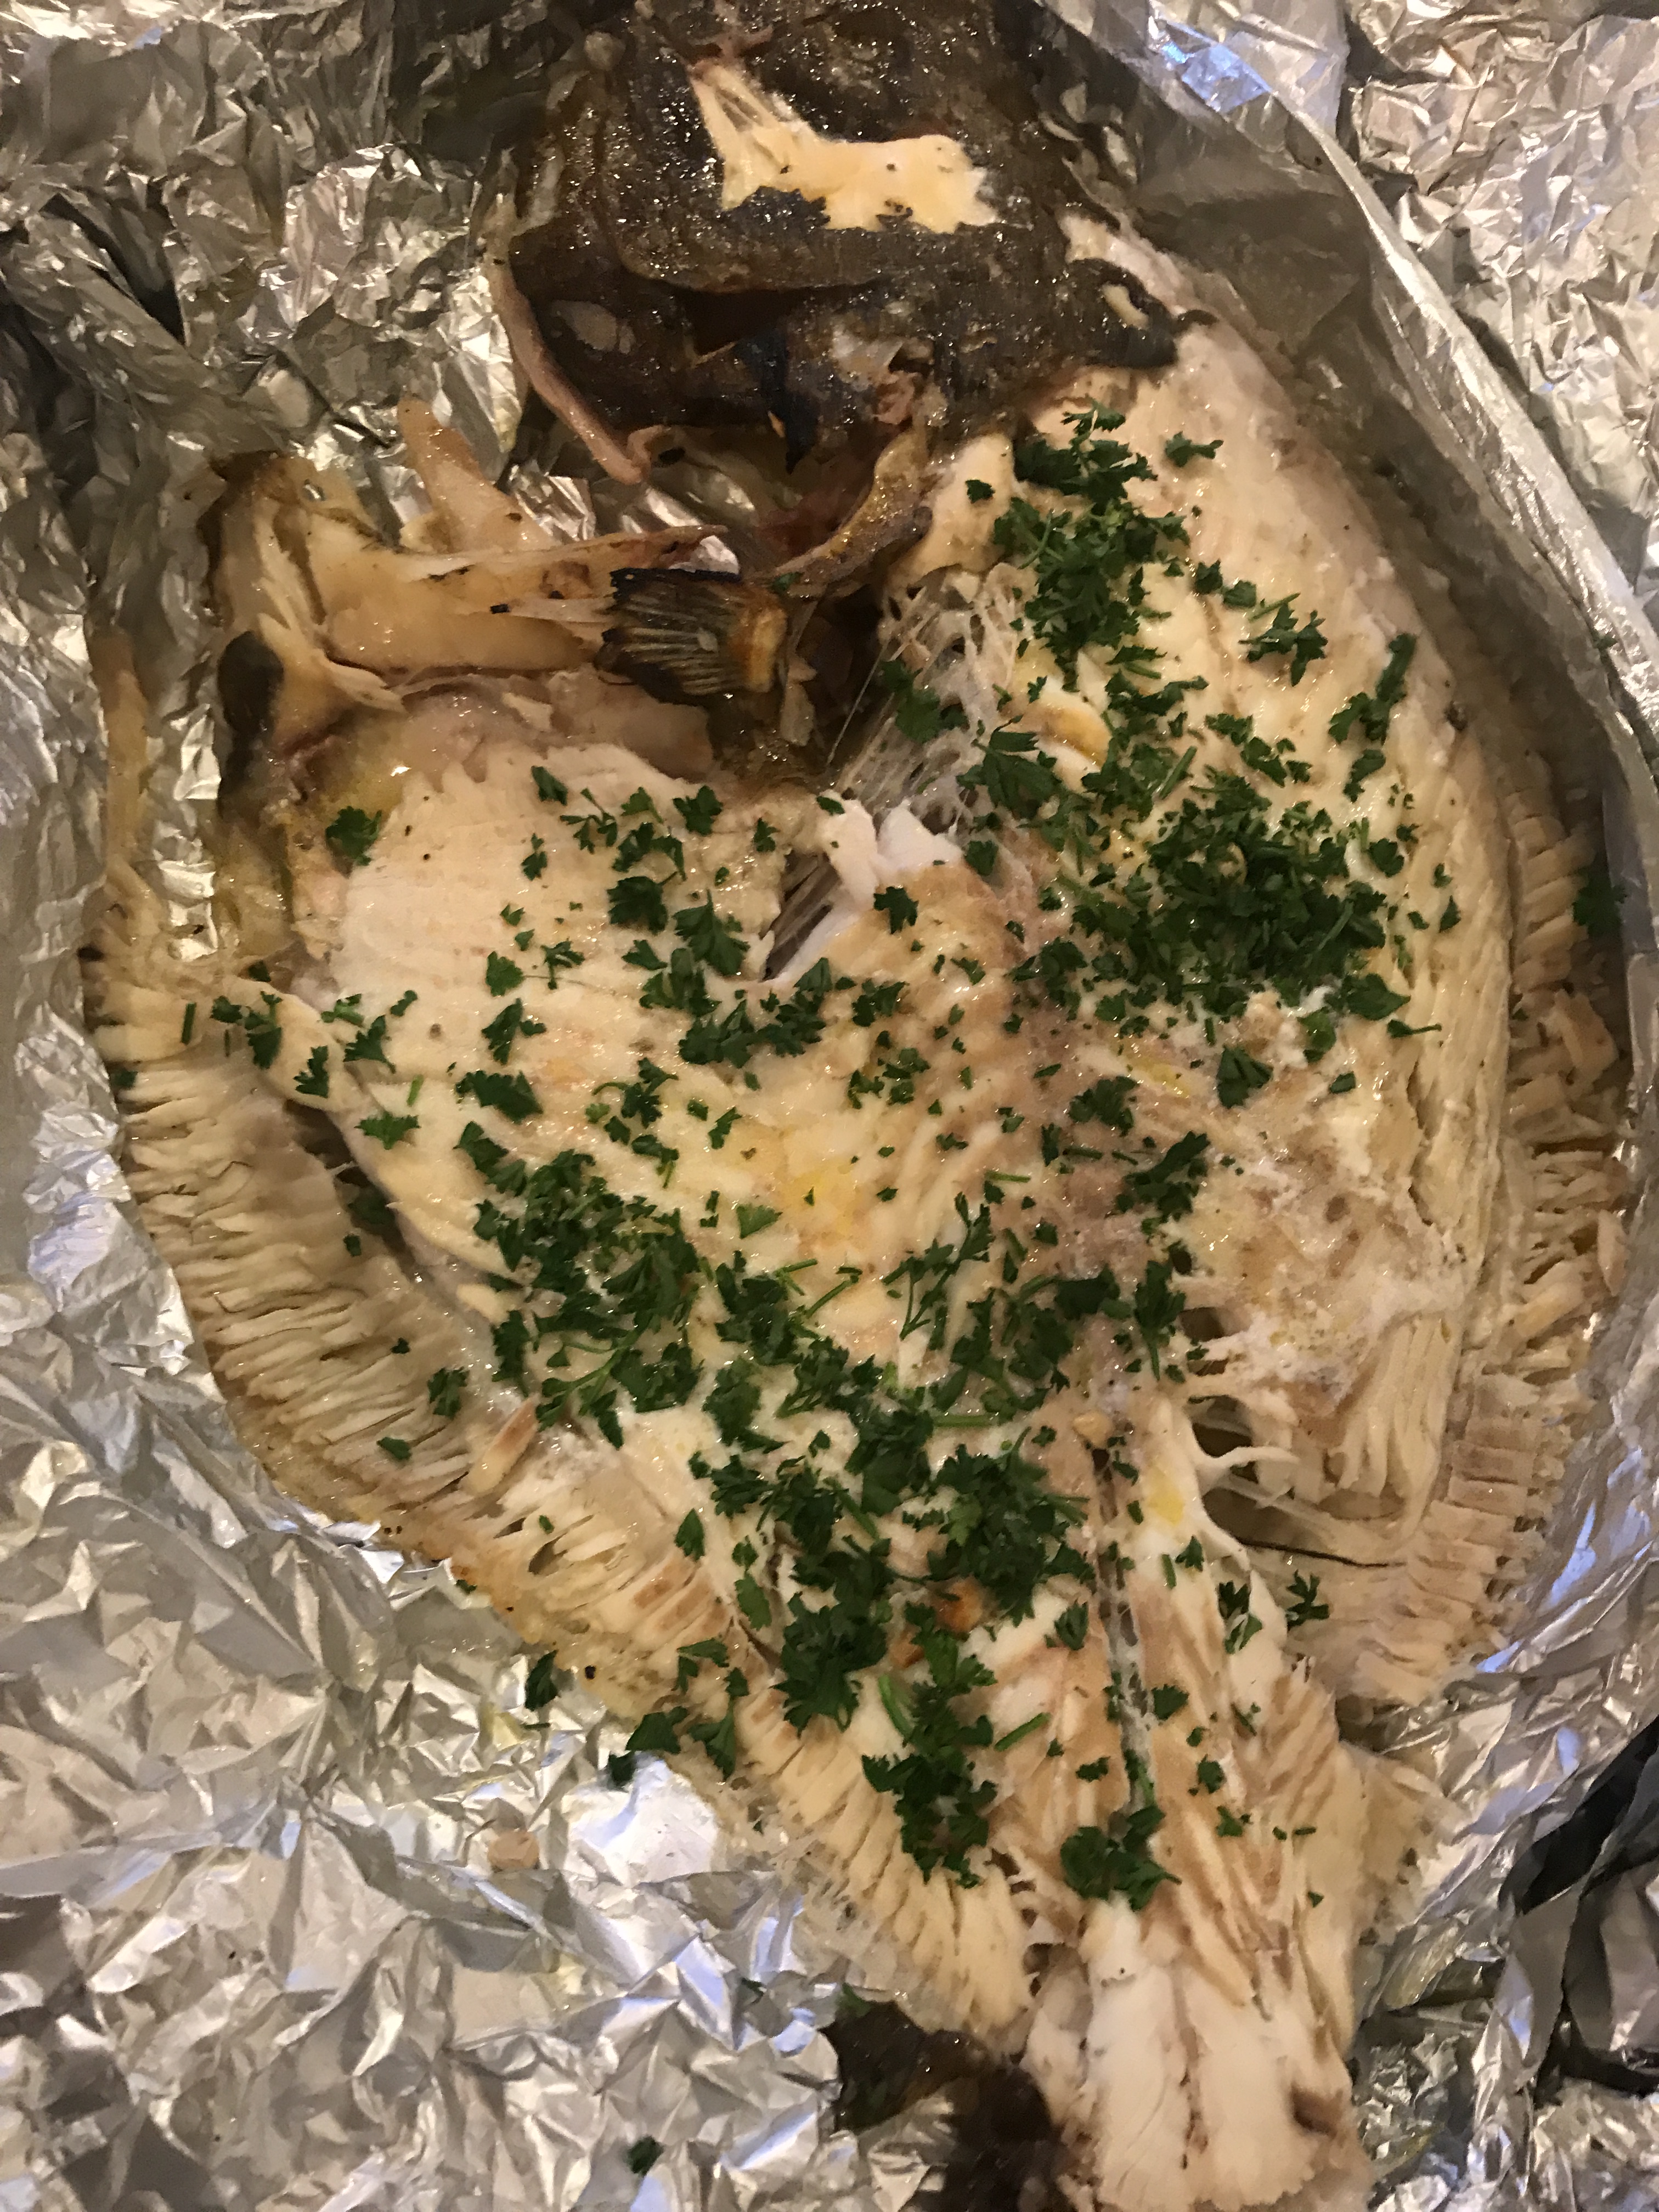
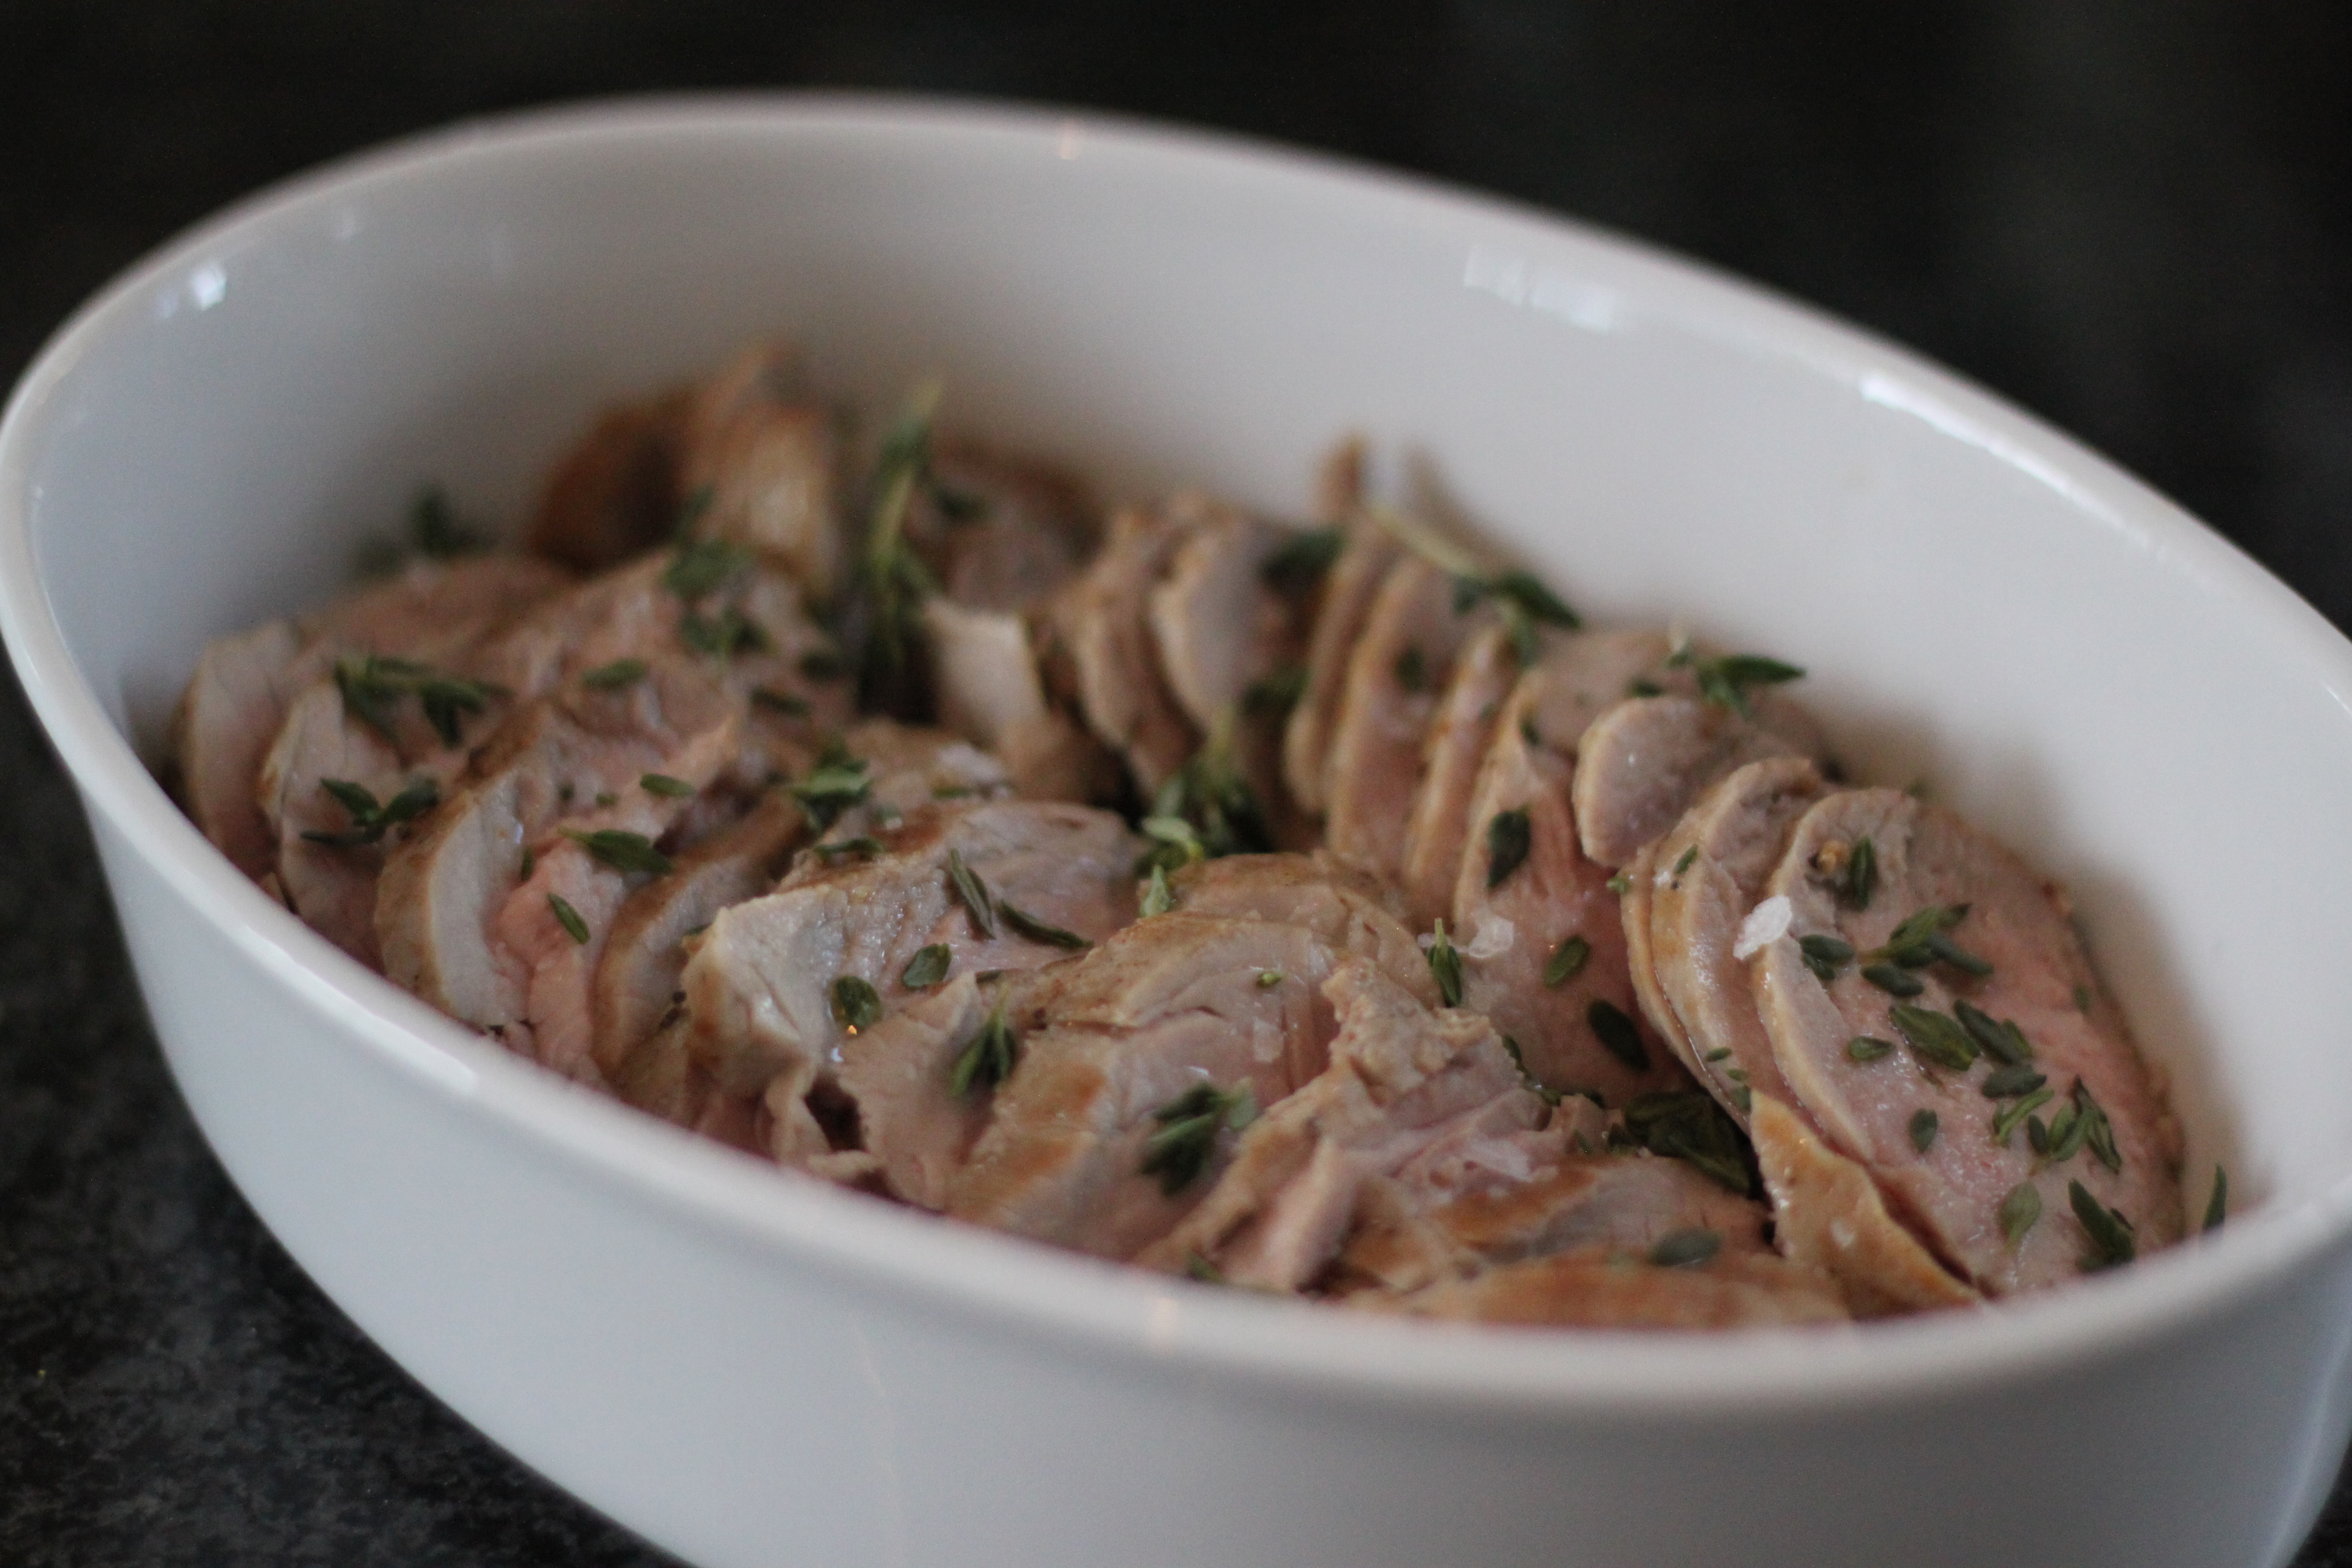
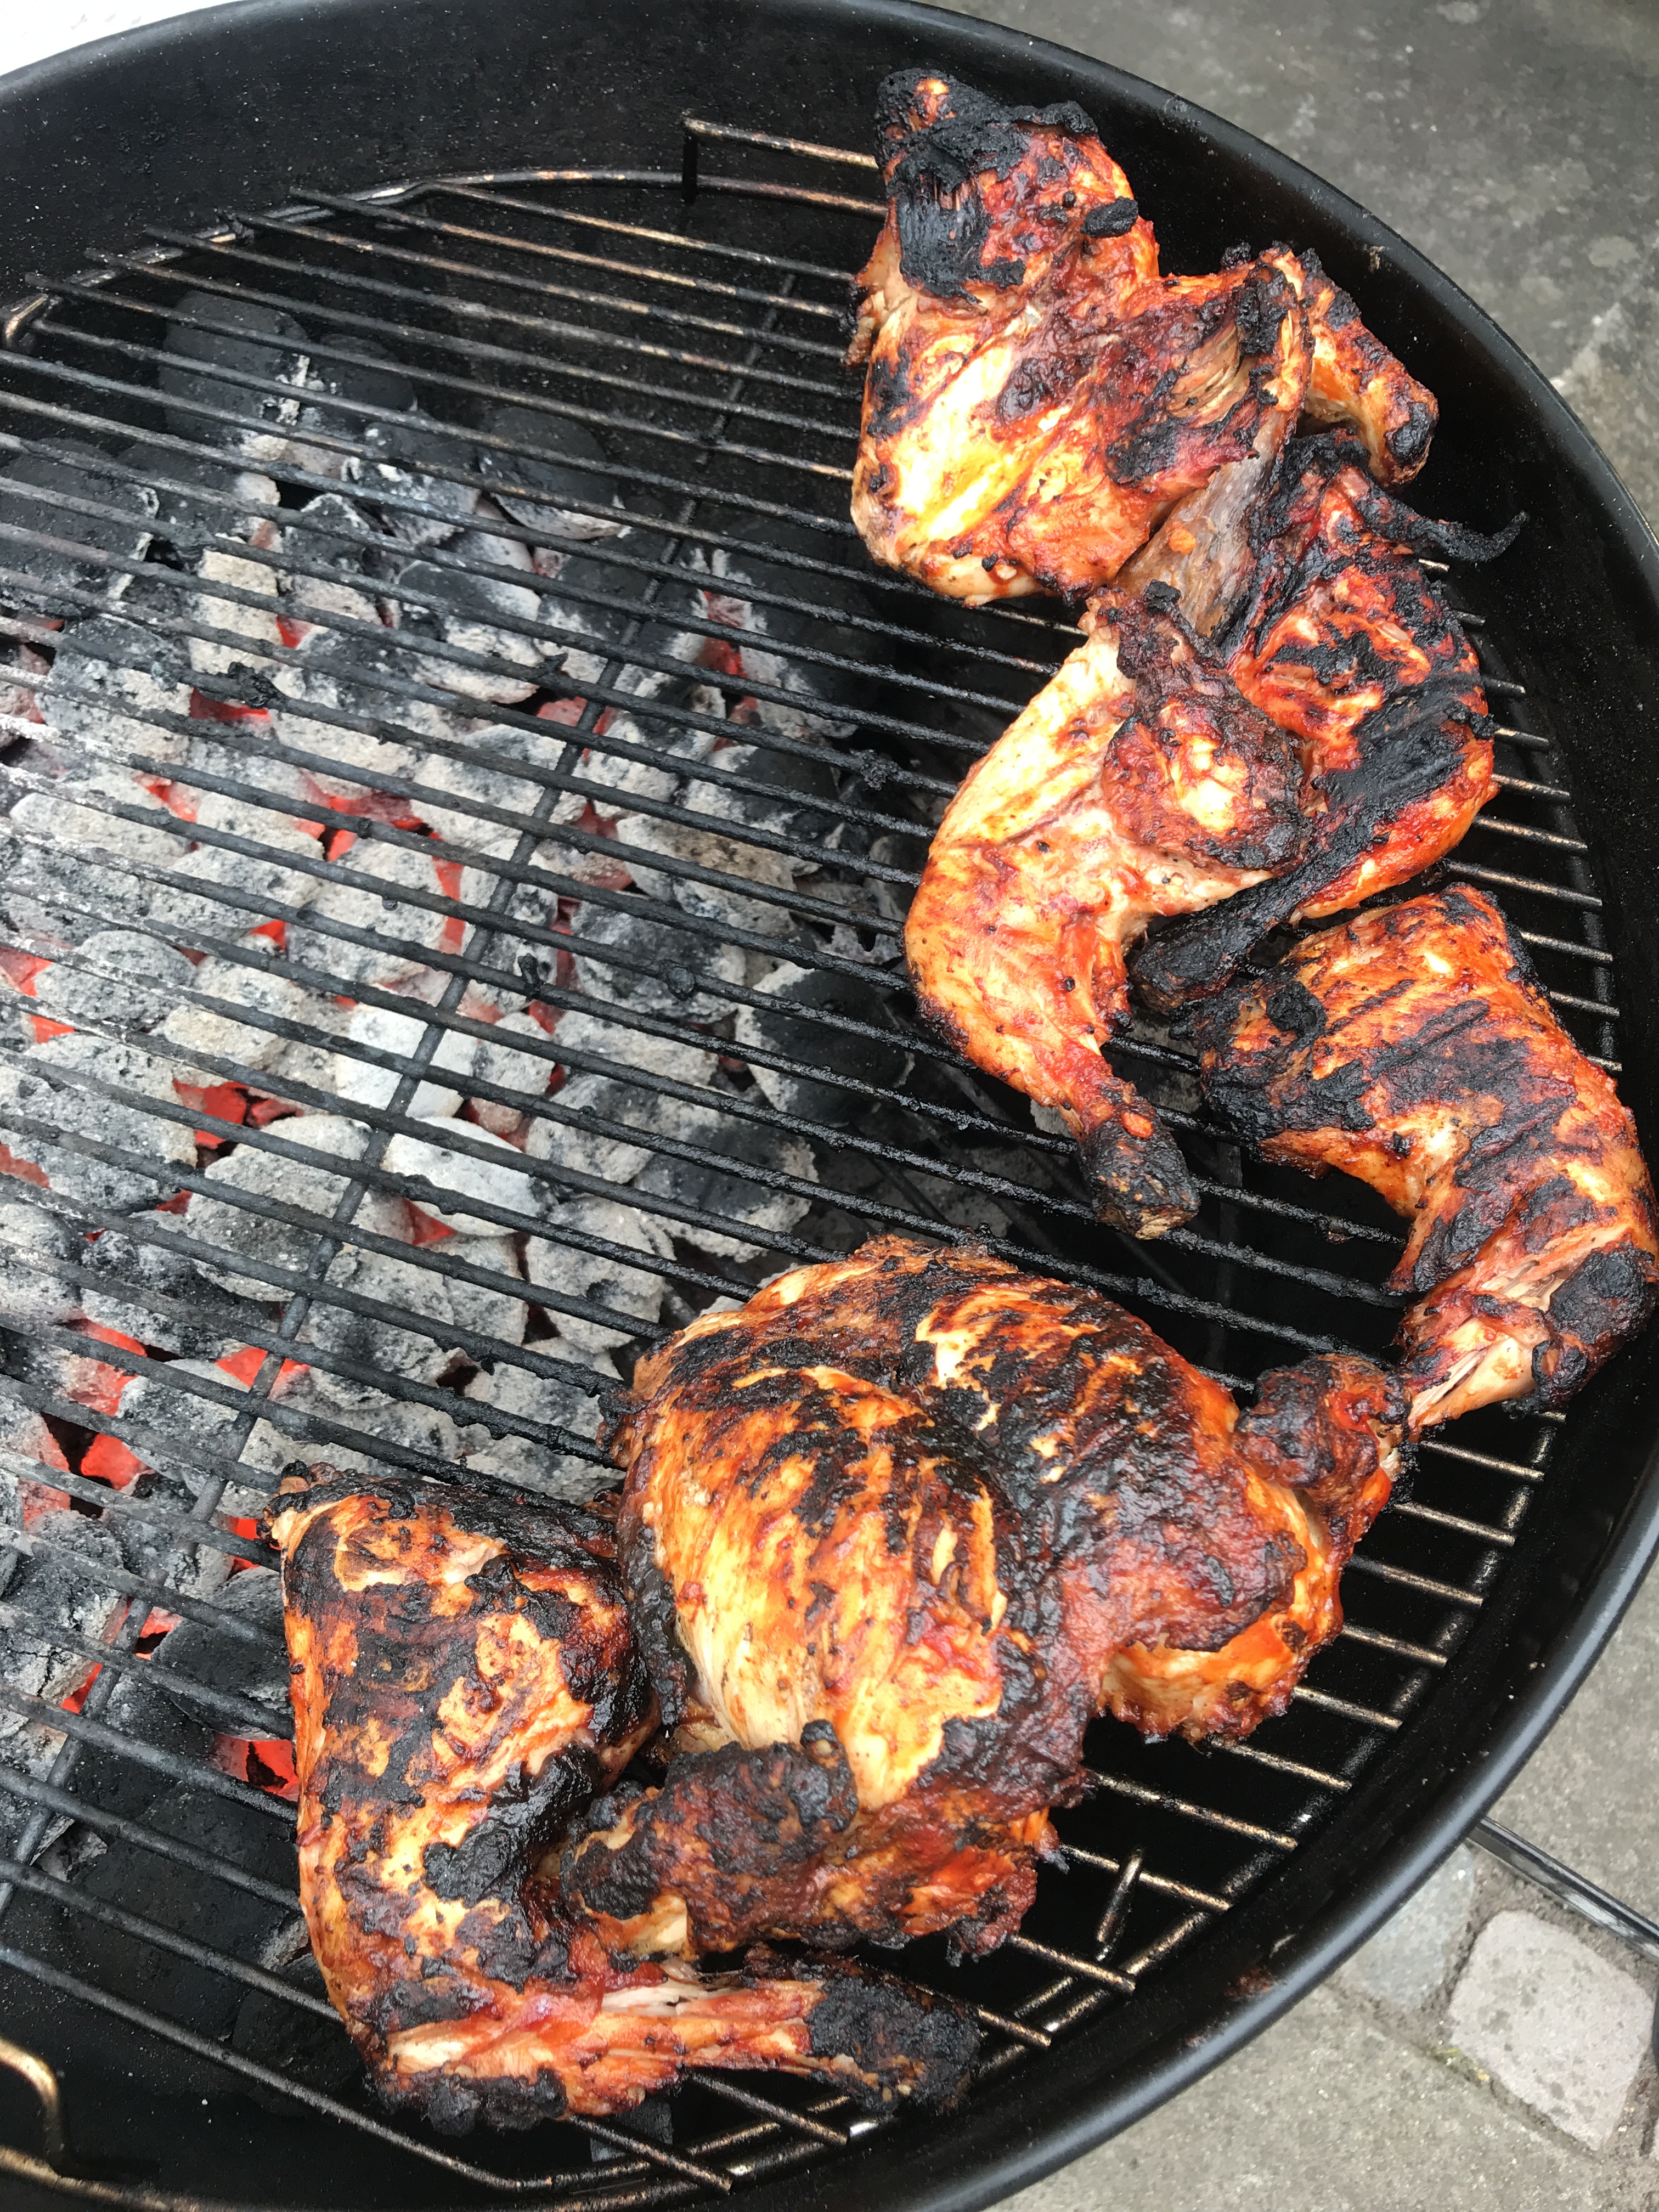
And apart from the sugars in the marinade burning too quickly it was a great success. We both thoroughly enjoyed the charred and tender chicken, both that night and the leftovers two days later.

IMG_0041.jpg

But, this almost too charred chicken was not photogenic, and I was also slightly worried about the carcinogenic properties of all that burnt sugar. And decided to perfect the recipe (and reduce the charring) the next time.

And that next time arose a few weeks later in Sweden when my boyfriend was over and we were having dinner with my parents. My foodie family was just as excited about the chicken as I was and my boyfriend loved it last time, so it worked out really well! The trick is to add the barbecue sauce towards the end so it doesn’t burn too much; just that right amount that makes it taste to good!

IMG_0072.jpeg

Barbecue chicken, serves 4 + leftovers

2 smaller (just over a kilo each) whole fresh chickens

salt and pepper

1 tbsp neutral oil 

Barbecue sauce:

150 ml ketchup

2 garlic cloves, finely chopped 

1 tbsp brown sugar (or any sugar if you prefer but brown works best) 

1 tsp smoked paprika powder 

1 tbsp tomato paste

2 tsp soy sauce 

2 tbsp water

2 tbsp neutral oil 

salt, pepper

Rinse and trim the chickens. (I usually cut away any loose skin and fat, the ends of the wings that is just bone etc.) Then spatchcock the chickens (instructions here) so they cook quicker and more evenly. Season with plenty of salt and pepper all around and brush with oil. 

Build up the coal barbecue so that you have the coal and briquettes all on one side of the barbecue, where you have a higher temperature, as opposed to the empty side which still emanates heat but isn’t as hot. 

Start off by browning the chickens all around on the direct heat (on top of the coals), for approx 5-10 minutes. Then move them to the indirect heat (empty side) and place them bony side down. Put the lid on and grill for another 15-20 minutes, turning as you go. Brush on a thick layer of barbecue sauce all around the chicken and char the meaty side first (as this is most important to get right) until just enough charring, then turn over and char the other side. The chickens should be ready after another 10 minutes on the grill, but cut through the meat (both the thickest part of the breast and in a joint) to make sure the juices are all clear. Remove from the grill and cover with foil and let rest for 5 minutes. Cut into smaller pieces (our almost fell apart so this was easy) and tuck in!


Recipe: bruschetta bar!

IMG_6506.jpg

On several occasions over the last month I have trialled a great new concept for entertaining, *drum roll* –  the bruschetta bar!

I can’t take any credit though, as What’s Gaby Cooking was the one who cleverly coined the term!

As you readers already know, I’m an avid fan of everything crostini and bruschetta and this blog is evidence of that (you’ll find the classic bruschetta; one with burrata; crostini with a mushroom spread to die for; with ricotta, ham and peaches; smoked salmon spread etc etc) but instead of serving already topped crostini of one or two varieties, the bruschetta bar is more of a DIY job. It’s so much easier for the organiser; just fill a big platter with heaps of crostini and a nice spread of toppings, and more fun for the guests who can create their own flavour combinations and partake more. It feels more relaxed and the toppings can be varied after season, inspiration or whatever you can find in your fridge and larders. I can even see this becoming the ultimate fridge forage dinner with lots of fun bits!

I must say I’m a little peeved I didn’t come up with the idea myself (especially as I for one party organised a blini bar and the concepts are pretty similar AND for dinner parties in the past I have served crostini this way too ), but I’m also so grateful for other bloggers inspiring me and sharing great ideas!

As I said, I have trialled this concept a few times already and all the different occasions had slightly different spreads, so to give you a few ideas I’ve listed them all below.

IMG_6505.jpg

IMG_6506.jpg

The all-in birthday celebration. This was my first, AND it was for my birthday, so of course I went all out. I did focus on pasteurised cheeses and less charcuterie though as one of the guests was pregnant, but if that wasn’t the case all I would have done differently would be to add more charcuterie and choose different cheeses!

Serrano ham
Saucisson
Sliced cheddar
Classic bruschetta topping
Ricotta
Boursin cheese
Creamy chantarelles
Philadelphia with sunblush tomatoes
Large white beans with olive oil, garlic and smoked paprika 
Pea pesto
Fresh figs
Acacia honey 
Vanilla jelly
Truffle mayo
Grilled peppers in oil

Extra: two types of crisps, small carrots and cucumber to sticks, two dips, nocellara olives, prosecco, rosé and sparkling elderflower.

IMG_7164

The last minute spread with caprese salad. This was super last minute so we threw together what we found in the supermarket we passed on our way home.

Caprese salad (mozzarella, sliced tomatoes, basil and olive oil)
Thinly sliced truffle salami 
Creamy girolles
Grilled peppers in oil
Serrano ham
Creamy gorgonzola

On the side: fig jam, honey

IMG_8057

The greatest hits. When you have time to think about the spread and the supermarket has it all in stock (I’m looking at you burrata!). Perfect as a starter for four people.

Burrata, sliced red and yellow tomatoes, basil and olive oil 
Thinly sliced truffle salami 
Prosciutto
Philadelphia with sunblush tomatoes
Homemade pesto (just swap wild garlic for basil)
Grilled peppers in oil

IMG_8812.jpeg

IMG_8811.jpeg

IMG_8815.jpeg

The pot luck spread. When the book club girls come over and you organise the spread together.

Burrata, sliced red and yellow tomatoes, basil and olive oil 
Philadelphia with sunblush tomatoes
Store-bought fresh pesto
Brie
Cranberry cheese 
Mild goat’s cheese log
Grilled peppers in oil
Chorizo
Saucisson
Salami
Prosciutto
Spansk soft rind cheese
Large Spanish beans in oil

Extra: two types of crips and dip 

Recipe: pork fillet with lemon and thyme

IMG_0426.jpg

This thinly sliced and seriously tender pork fillet is such a good recipe to have to hand in the summer months as it can be served warm or cold and goes with pretty much anything. I personally think a potato salad, a nice green salad and some cold pale rosé is perfect, but it would work equally well with an array of different salads, pasta salads and sides on a buffet. And this parmesan créme is delicious to serve with it!

A quick note on pork: I prefer to cook mine slightly pink as it makes the meat so much more tender. The reason we have always been told to make sure pork is well done is because of trichinosis, but there has not been a single case of it from meat produced in the UK for more than 30 years because of rigorous testing (the last case in Sweden was almost as long ago; in 1994) , so it’s perfectly safe to cook it pink. Interesting article here.

IMG_0428.jpg

Pork fillet with lemon and thyme, serves 2

1 pork fillet, ca 500 g 

Marinade:

100 ml rapeseed oil or mild olive oil

1 garlic clove, sliced

6 sprigs fresh thyme

1/2 lemon, sliced

sea salt and black pepper

For cooking:

butter for frying

Decoration:

sea salt and black pepper

1/2 lemon, juice only

approx 2 tsp fresh thyme leaves (taken off the sprigs)

1 tbsp thyme oil or nice olive oil 

Trim away any sinews and fat on the pork fillet. Season all over. Place in a ziplock bag (or bowl) and add garlic, lemon, thyme and oil. Close the bag and make sure the marinade is evenly distributed around the meat. Place in fridge overnight. 

Remove the meat from the fridge about an hour before you intend to cook it. Pre-heat the oven to 200C. Heat a frying pan on medium-high heat and add butter to the pan. When melted, add the meat whole and brown it on all sides (even de the ends). Add a little salt and pepper. Place the meat in an oven-proof dish and cook in the hot oven for 8-10 minutes (a few minutes longer if you want to make sure it’s not pink in the middle, but it does cook on the residual heat as well). Cover with foil and let rest for five minutes. Slice thinly and arrange on a platter. Add salt and pepper and decorate with thyme leaves. Drizzle with thyme oil and lemon juice.  


Recipe: pan con tomate

IMG_0345.jpeg

Last weekend I made tapas at home, and although I’ve made both croquetas (so yummy!) and tortilla before for some reason I had never attempted pan con tomate.

IMG_0331.jpeg

It’s very easy to make though, and you’ll figure out how to grate the tomato (yes, that’s the secret!) pretty quickly. I love this toasted bread with plenty of olive oil, a bit of garlic, tomato pulp and salt so much that I will probably incorporate it into every summer lunch and dinner from now on, tapas or not!

It just tastes like summer! Picture a sunny day by the mediterranean, glass of rosé in hand and a plate of these to tuck into with your friends. Yum!

IMG_0339.jpeg

Pan con tomate, serves 4

1 large baguette 

4 large vine tomatoes 

good quality extra virgin oil 

1 clove garlic

sea salt

Cut the baguette in half lenghtways and cut into four so you have eight pieces. Place them, cut side up, on a parchment covered baking tray. Drizzle with olive oil and put in a 180C oven for approx 10 minutes or until golden and toasted. Cut the garlic clove in half and rub the garlic, cut side down, over the bread. 

Half the tomatoes and grate them with the cut side to the grater with a plate underneath. Grate only the inside of the tomato, press the tomato to the grater so the skin remains intact. Spoon the tomato mixture onto the bread and drizzle generously with olive oil. Add salt, plate and serve with napkins. 

Recipe: weeknight almost poke bowl

IMG_1544.jpeg

If you read my weeklies you know I partly live on poke bowl. Both take away ones but most often my homemade almost-poke-bowl. Until now I’ve linked to this post, because the idea is roughly the same but the presentation is different, so I thought it was about time my probably most-cooked dish gets its own post.

APC_2338.jpeg

In my opinion (and probably most peoples’) a proper poke bowl, consists of sushi rice and raw fish with various toppings. But as sushi rice takes a long time to make and raw fish isn’t readily available I’ve reworked the dish so it’s easy to do on a weeknight. (Puritans, look away now.)

Enter basmati rice (jasmin rice would work too, but avoid long grain) that you can literally just add to a pan of water and boil. Much simpler than sushi rice. And frozen raw prawns. I heat them, from the freezer, in some oil in a frying pan and they turn pink (i.e.) cooked in seconds. Add to that what vegetables I have at hand, but I would pick up avocado, coriander and cucumber on the way home as for the those are the most important ones. I always have a jar of mayo and one of gochujang in the fridge. Mix the two together and add some salt and you’re ready to go.

IMG_5927.jpeg

Weeknight almost poke bowl, serves 1

1 portion basmati rice, cooked according to the instructions on the box 

80 g frozen raw prawns 

1 tbsp oil for frying 

1 tsp lime zest 

salt and pepper

1/2 avokado, diced or sliced

5 cm cucumber, diced

chopped coriander

other vegetables such as radishes, spring onions and tomatoes, chopped 

50 ml Hellman’s mayonnaise

1/2 tsp Gochujang (Korean chilli sauce)

a pinch of  salt 

1 lime wedge

Mix mayonnaise and Gochujang, season with salt and put aside. Heat up a small frying pan on medium-high heat and fry the prawns (straight from the freezer) in the oil until they turn pink (doesn’t take long). Remove from the heat and add the lime zest. Add salt and pepper. 

Drain the rice and add it to a bowl. Add the vegetables, prawns and gochujang mayo. Lastly add the coriander, squeeze over some lime juice and sprinkle with salt.