Recipe: The Easiest Scones!

When I saw Rosie make these on her Instagram in the middle of lockdown, I decided to try them straight away. I already have a great scone recipe on the blog, courtesy of Paul Hollywood, but these seemed a lot easier and quicker to make.

I even managed to get hold of clotted cream, so two days in a row we had freshly baked scones with jam and clotted cream with our tea. So yummy!

These are definitely your everyday type of scones. The ones you whip up just before eating them, and I think they are intended that way. If you’re putting on a whole afternoon tea spread I would make the Paul Hollywood ones though, as they are more like the ones you get in a nice restaurant. Less rustic.

I can’t stress enough how easy these are to make! If you haven’t made scones before or are a bit scared of baking, this is the recipe to try. Line up the ingredients and have the tea, clotted cream and jam ready!

The easiest scones, makes about 16

Adapted from Rosie The Londoner’s recipe.

8 heaped tbsp self-raising flour

quarter pack of butter (about 62 g), cubed

150 ml milk

pinch of salt

Pre-heat the oven to 200 C. Add the flour and salt to a large mixing bowl and add in the cubed butter. Use finger tips to break up the butter until it resembles breadcrumbs in texture. Make a well in the middle and pour in the milk. Use a knife to bring it together into a sticky dough. Dust a surface with flour and place the dough on it. Sprinkle some flour on top and pat the dough until approx 1.5 inches thick, taking care not to knock the air out of it or work the dough too much. Cut out scones with a cookie cutter or a glass. Keep going until all the dough has been used. Place the scones on a parchment lined baking tray. Bake for 10-15 minutes and let cool on a wire rack. Split the scones open to serve.

Confit garlic bread

IMG_0417

I found a recipe for confit garlic in an issue of Bon Appetit and I liked the idea, but thought using butter as the recipe suggested seemed a bit risky so I did it my own way, with oil.

FullSizeRender

It still amazes me how different garlic can taste depending on how it’s prepared. I love the sweetness from caramelised garlic and the punch of frying fresh chopped garlic with mushrooms for example. The confit garlic is somewhere in between the two; it’s less sweet than caramelised garlic but a lot softer in flavour than raw. I used the confit garlic to make garlic bread and it was, as I suspected, absolutely delicious!

Why not try wild garlic bread or cheesy garlic bread next?

IMG_0431

Confit garlic

1 whole garlic

approx 100 ml neutral oil

Pre-heat the oven to 150C. Peel the garlic and place the cloves in a ramekin. Cover with oil. Place in the oven until the garlic is soft, approx 30 minutes. Leave to cool. Remove the garlic. Save the oil for roasting potatoes and vegetables in the oven. Keeps in the fridge. 

Confit garlic bread

the confit garlic above

100 g salted butter, softened 

a bunch of parsley, finely chopped 

1 baguette or other preferred bread

Remove the garlic from the oil and mush into the butter. Add parsley and mix well.

Make slits in the bread and spread with the butter. Wrap in tin foil and bake for 10 minutes in 180C until the butter has melted. 

Place the remaining butter on a sheet of cling. Shape into a roll and place in the fridge or freezer. Use for garlic breads or as a flavoured butter for fish or meat. 

Tandoori chicken drumsticks and more

IMG_4586

About a month and a half have passed since my summer party back in Sweden and you can really tell that summer’s over. It’s windy, grey and it has started raining again. But I think all Londoners are happy about the fact that we actually had a decent summer this year, so we are mentally prepared to embrace autumn and winter.

Luckily the recipes for the food I cooked for my friends that summer’s day in August works just as well at this time of year – just choose less summery sides.

So, finally, I give you the recipes!

We started off with a simple yet very tasty pre-dinner cocktail made from vodka, mummy’s homemade elderflower cordial, lemonade, lime and mint together with some amazing Parmesan biscuits I have posted on here before. Do try them if you like cheese at all, they are simply divine!

IMG_4550

DSCN0770

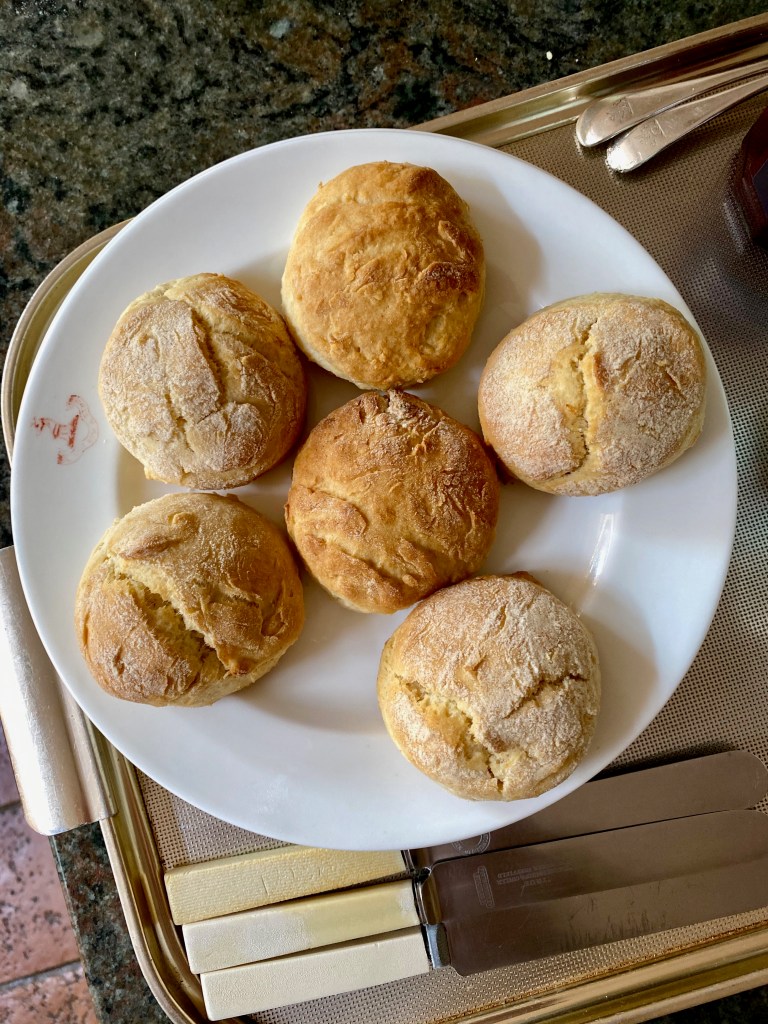
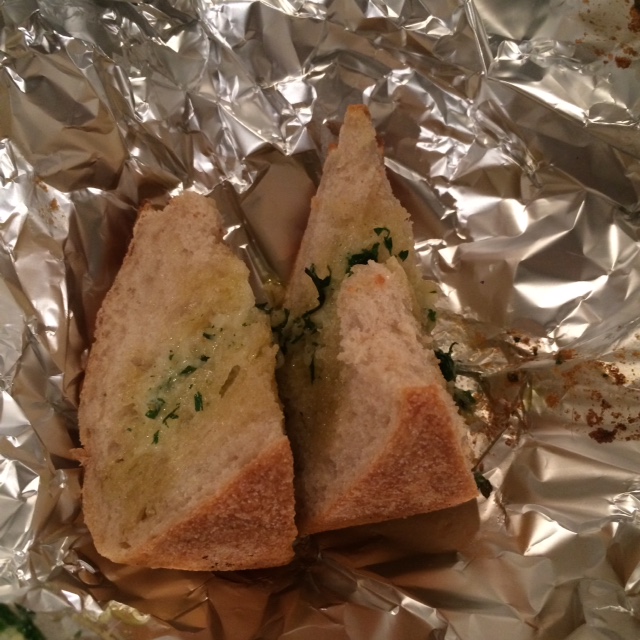
As I mentioned before, this was a pretty relaxed party, so the starter was served on platters. On a bed of rocket, cucumber and radishes I had piled squares of Ottolenghi’s caramelized garlic tarte high which looked pretty rustic. I simply adore this tarte and all my friends loved it too – such a crowd pleaser! I also made some rustic baguettes after my blog friend Helena’s recipe. She calls them faux sourdough baguettes and that’s a very fitting description; they’re chewy and nice but far easier to make than real sourdough baguettes.

DSCN0772

DSCN0776

IMG_4628

For the maincourse I served two types of meat; rare roast beef with a homemade aromatic butter and tandoori chicken drumsticks with a minty yoghurt dip. Not all my friends like red meat so I always try to serve chicken as well and although Indian food is far less common in Sweden this went down really well with everyone. I had also made two substantial salads which went with both meats; one with roasted new potatoes, spinach, spring onions and cucumber and one with roasted peppers, courgettes and aubergines with rocket and feta. Both dressed with a nice olive oil and a touch of balsamic.

DSCN0779DSCN0780

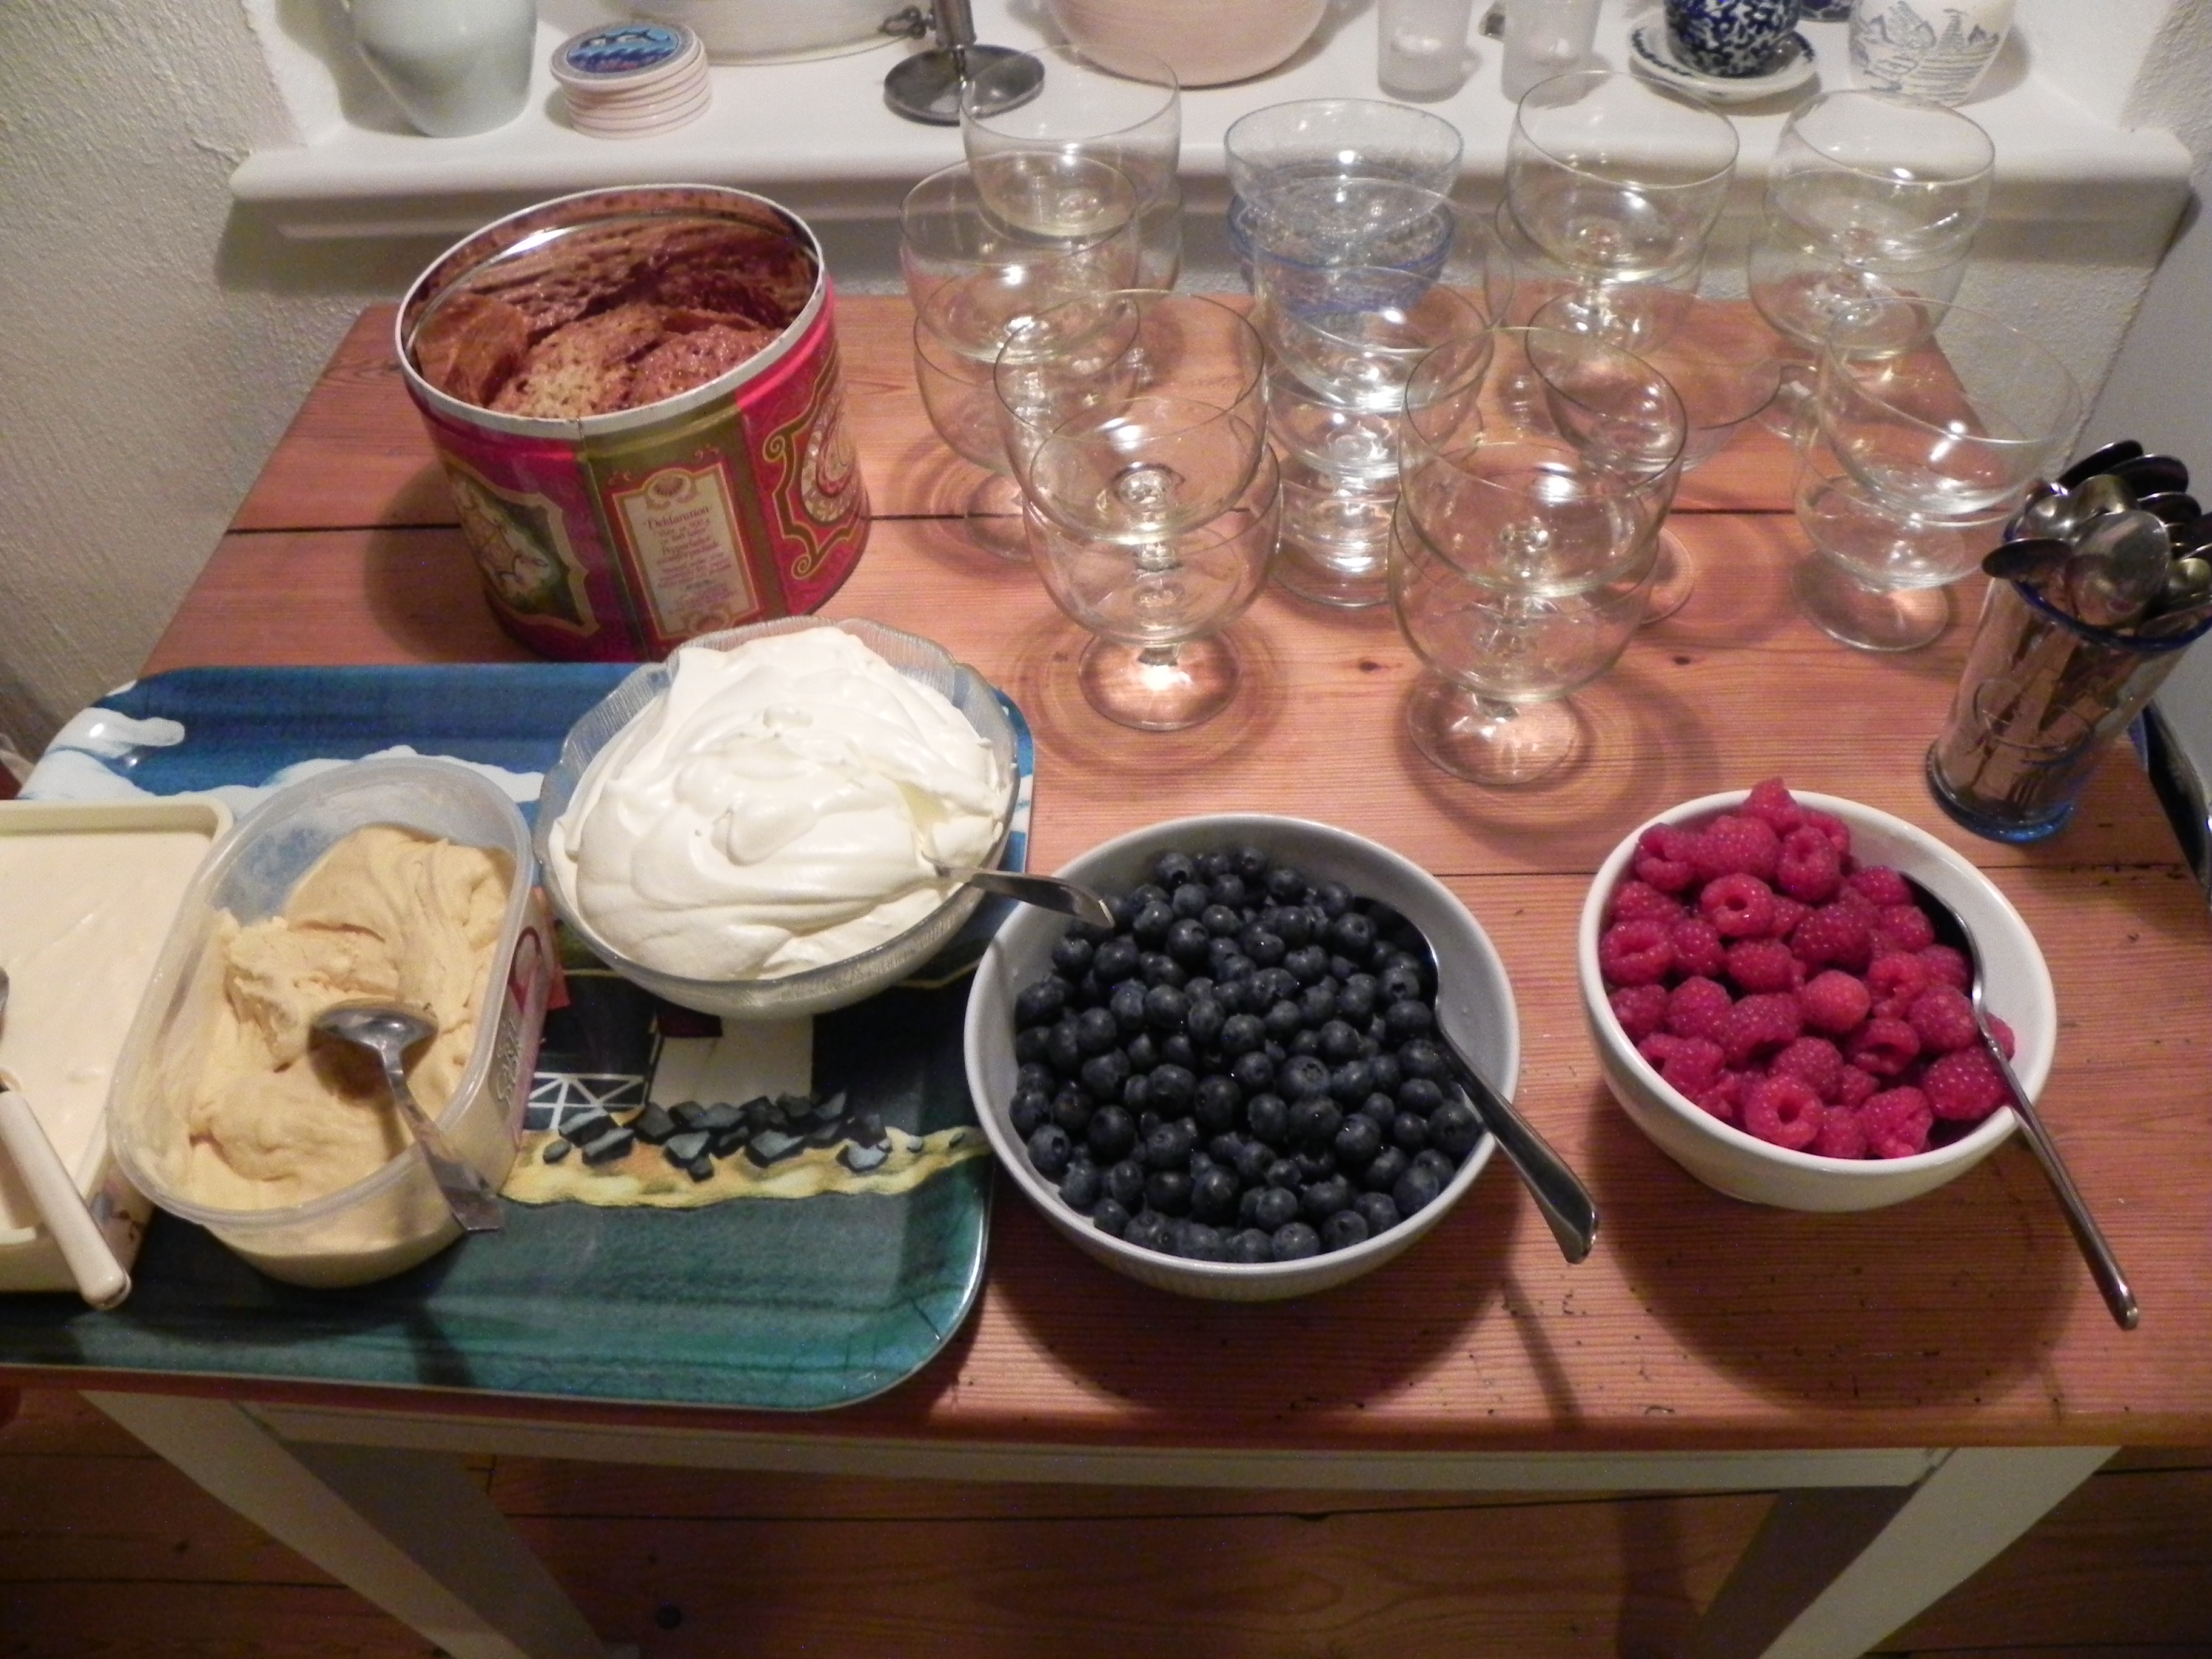
For dessert I let everybody serve themselves a sundae with vanilla and mango icecream, whipped cream, blueberries, raspberries and homemade oat crisps. Super easy to prepare in advance and very popular with my friends!

Tandoori chicken drumsticks, serves 4

Adapted from Simon Hopkinson’s recipe.

The only labour intensive part of this recipe is skinning the drumsticks, which is especially tedious if you make five batches at once like I did. But I assure you, it is worth it.

1,75 g chicken drumsticks

a pinch of salt

2 lemons, juice only

500 g plain yoghurt

3-4 tbsp tandoori spice mix

Remove the skin from the drumsticks, then cut deep incisions in the flesh with a knife. Place the chicken into a bowl and sprinkle over the salt and the juice of two lemons, massaging into the chicken until well coated. 

Mix the yoghurt and tandoori spice mix together in a bowl. Pour the marinade onto the chicken and massage into the flesh. Cover with clingfilm and chill in the fridge overnight.

Preheat the grill to high. Lift the drumsticks from the tandoori mixture and gently shake off any excess. Place a wire rack over a roasting tin and lay the drumsticks upon it. Grill for 20 minutes, turning regularly, or until richly burnished and the chicken is cooked through. Add more lemon juice to taste.

Yoghurt dip

3-4 tbsp plain yoghurt

a pinch salt

a pinch sugar

5 sprigs of mint

1 green chilli, deseeded and sliced

Place all of the ingredients into a food processor and blend until smooth. Serve alongside the chicken drumsticks.

Faux sourdough baguettes, makes 3

Translated and adapted from Helena’s receipe.

3 pea sized pieces of fresh yeast (or the equivalent of dry yeast)

300 ml lukewarm water

1.5 tsp salt

25 ml wheat bran

about 380 g strong white flour

Dissolve the yeast in the water and add the remaining ingredients. Stir until all combined and you have a loose dough. Cover with cling and let it rise overnight or at least for five hours.

Turn out the dough on a floured surface and fold the dough in on itself once so both sides of the dough are floured. Pull the dough into a rectangle shape, about 15 x 25 cm. Divide into three equally sized portions and flour all around. Twist the dough pieces into baguettes and place them on a baking tray covered with parchment paper. Let rest while preheating the oven to 275C. Before placing the baking tray in the oven spray the inside of the oven with water both up and down, which will contribute to a nice crust. Bake the breads for 13-15 minutes, the leave to cool on a wire rack uncovered. 

Aromatic butter for meat

250 g softened butter

2-3 tsp paprika

1 garlic clove, pressed or grated

1 handful parsley, finely chopped

salt

white pepper

Mix all the ingredients together in a bowl, season to taste. Using clingfilm shape into a roll and cover it with cling. Leave to set in the fridge. Slice before serving. 

Toasted wild garlic bread

IMG_3924

It is no secret that Swedes take their seafood seriously. More or less every Friday of my childhood we had prawns (or crayfish when it was in season) for supper. Served as above with boiled eggs (cooked after everyone’s different preference), mayonnaise and a nice salas (preferably with avocado) this is such a relaxing way of eating prawns, peeling as you go.

And the prawns taste so much more when bought unpeeled. I find it so sad that it is near impossible to find unpeeled cold water prawns in the supermarkets here.

This meal wouldn’t be complete without some nice bread though, and sometimes we would just get a fresh loaf from the bakery and eat it untoasted with plenty of butter, or sometimes we’d have toasted bread or homemade garlic bread. With plenty of freshly picked wild garlic though, the choice was easy; I wanted to make toasted wild garlic bread. And it was just as delicious as I expected it to be. Prettier than regular garlic bread too, with its vibrant green colour.

Wild garlic grows all around the Southern parts of the UK at least, but if you struggle to forage some you can buy it from a good greengrocer (in Borough Market for example).

IMG_3915

IMG_3923

Toasted wild garlic bread, serves 3-4

100 g softened salted butter

1 handful wild garlic, finely chopped

salt and white pepper after taste

12 pieces of good crusty bread

Mix the wild garlic with the softened butter until well combined. Season with salt and white pepper. Divide between the bread pieces and spread evenly. Place on a baking tray and toast in a 180-200C oven for 10-15 minutes until the bread is crispy and the butter has melted. Serve warm. 

Parmesan biscuits, with or without chilli

IMG_3410

Yesterday I was in the mood to bake and tried another one (yes, I’m going through a phase) of Simon Hopkinson’s recipe. This time it was his Parmesan biscuits that were as scrumptious as I expected. I will definitely make them again to have as nibbles at dinner parties or drinks parties, but they would go well on a cheeseboard too and would make a nice hostess gift.

IMG_3389

They are incredibly easy to make too; the ingredients are few and the dough is easy to handle. Just like Simon Hopkinson I put some sliced some green chilli on a few of them.

IMG_3418

Parmesan biscuits, makes 25-30

Adapted from Simon Hopkinson’s recipe.

100 g  cold unsalted butter, cut into chunks

100 g plain flour

a pinch salt

a pinch cayenne pepper

1 heaped tsp mustard powder

50 g mature cheddar, grated

50 g Parmesan, finely grated

1 egg, beaten

some more grated Parmesan

1 green chilli, sliced

Preheat the oven to 180C. Place the butter and flour into the bowl of a food processor with the salt, cayenne, mustard powder and cheeses. Process together to begin with, and then finely pulse the mixture in short spurts as you notice the mixture coming together – it will eventually bind without the need for egg or water. Wrap in cling film and leave to chill in the fridge for at least 30 minutes.

Lightly flour a work surface and gently roll out the pastry to about the thickness of two pound coins. Cut out the biscuits to the size and shape you wish. Lay them out on a greased baking tray with a little space in between. It may take two lots of baking to use up the entire mixture.

Carefully brush the surface of each biscuit with the egg and sprinkle over a little finely grated Parmesan. Bake for 10 minutes, or until they are a gorgeous golden-brown colour.

Carefully lift the biscuits off the tray using a palette knife and place on a rack to cool. Although the biscuits will keep well in a sealed container for a few days. 

Kanelbullar – Swedish cinnamon buns

As all children, I thought I had the best parents when I grew up. And I still do. They were always there for me, while still raising me to be independent. ‘I can do it myself’ was a very common sentence from me around the age of 2 and 3.

My childhood memories are all very loving, and most are actually about food. The smell of meatballs sizzling in butter, the comforting feeling when eating creamed spinach and the smell of cinnamon buns fresh from the oven.

Cinnamon buns, you see, is a Swedish institution. My mother will always have some in the freezer, along with other cakes in case of unannounced guests popping by. 

This past weekend when I was in Sweden, I baked cinnamon buns with my mother, something we always used to do together when I was a child.

And I can assure you, nothing in the whole world tastes better than warm cinnamons fresh from the oven.

My mothers recipe is a fairly standard one, but it contains more butter tahn other recipes, for a richer dough, and it has the addition of an egg to make the dough more elastic.

This recipe is actually half a batch, but it is still enough for around 40 buns or 25 buns and a sweet loaf. The loaf has the same filling as the buns but with raisins added to it for a more Christmassy feeling. Other fillings are usually marzipan for Christmas and we sometimes substitute the cinnamon for vanilla sugar.

Cinnamon buns, makes about 40

50 g fresh yeast

150 g melted butter

500 ml milk

2 tsp ground cardamom

125 ml caster sugar

1 egg

1,4-1,7 l plain flour

Filling: 

About 300 g softened butter

about 300 ml caster sugar

ground cardamom

ground cinnamon

For brushing:

1 egg

pearl sugar

Break up the yeast into the bowl for a machine with a dough hook. Mix the melted butter with the milk and heat until finger warm. Add a splash of the milk mixture to the yeast along with the sugar. Mix until the yeast has dissolved. Add the rest of the milk and butter mixture, cardamom and the egg. Start working the mixture with the dough hooks while adding the flour bit by bit until you have a fairly wet dough. Work the dough for 10 minutes. It should be sticky but come off the sides of the bowl. Cover the dough and let it rise for 20 minutes.  

Empty the dough onto a floured work surface. Divide into three equal sized pieces. Roll out the dough pieces one at the time until you have a rectangular dough about 3 mm thick. Spread about 100 g softened butter onto the dough rectangle in a smooth layer. Cover the butter with an even layer of caster sugar. Add a small dusting of ground cardamom. Add an even layer of ground cinnamon. Roll the dough from the widest side into a roll. Push the ends into the middle a little for an even roll. Cut into 12-15 pieces, about 3 cm wide. Place flat side down in baking cases on a baking sheet. Cover and let them double in size. Brush with a beaten egg and sprinkle with the pearl sugar. 

Bake in a preheated oven of 225C/200C fan at the top of the oven for 6-10 minutes. Make sure they don’t burn. 

Mexican cornbread

I borrowed a wonderful cookbook of my friend Gaby, the American equivalent to Delia Smith Mrs Beeton; The Fannie Farmer Cookbook.

Gaby suggested I’d try the cornbread recipe, and I had actually thought of baking cornbread just a few days before (but from a different recipe). The book also suggests alterations to the classic cornbread, such as this Mexican version with corn, jalapeños and cheese, which I just had to try straight away.

Served with a broccoli soup, which was nice, this completely stole the show, and I don’t remember the soup much at all anymore.

The cornbread is very moist and a bit like a sponge in texture. Together with a generous spread of salted butter, this is lovely on its own, together with a soup or perhaps some pulled pork. Just promise me you’ll make it!

Mexican cornbread, 1 batch

1/4 cup (60 ml) yellow cornmeal (I used polenta)

1 cup (230 ml) plain flour

1/3 cup (79 ml) caster sugar

3 tsp baking powder

1/2 tsp salt

1 cup (230 ml) milk

1 egg, beaten

2 tbsp melten shortening or bacon fat (I used vegetable oil)

2 tbsp chopped jalapeños (I used pickled)

1 cup (230 ml) tinned corn (drained)

1/2 cup (118 ml) grated cheddar or Monterey Jack

Turn the oven on 220 C. Grease a 20 cm square tin (I used a loaf tin though). Mix polenta, flour, sugar, baking powder and salt in a bowl. Add milk, egg and fat. Stir to incorporate. Add cheese, corn and jalapeños, and stir to combine. Pour the mixture into the tin and place in the oven for 20-25 minutes. Leave to cool and cut into squares if you used a square tin and slices if you used a loaf tin like me. Serve with salted butter.

Mezze: Hummus, chilli dip and flatbread

I have grouped the recipes from Friday’s dinner, so this is the first lot.

When eating mezze it is a must to have a few dips for the bread. The most common one is of course hummus, and here is my version:

Hummus, serves 6 as mezze

1 can chickpeas (400 g)

a splash of water

olive oil

2 tbsp tahini

2-3 tbsp lemon juice

salt

white pepper

1/2 clove garlic

Pour lemon juice, tahini, water and drained chickpeas into a food processor (or use a stick blender) and add some oil. Mix and add oil as you go until the hummus has the desired texture. Season to taste with lemon, garlic, salt, pepper and tahini. 

The next dip is almost as common as hummus in the Middle East, but less known here. The proper version is the one I made with ground almonds, but sometimes you can get a cheaper version were the almonds are substituted by breadcrumbs. We learned the rule in Syria, that if you get the almond-version in a restaurant it is a good restaurant, and if you get the bastard-version then of course, it is not as good.

Muhammara, serves 6 as mezze

120 ml ground almonds (or breadcrumbs)

2-4 garlic cloves

1/2 small onion, finely chopped or 1 tsp onion powder

spicy pepper purée (mine is from Syria, but a combination of sambal oelek and pickled peppers will probably work)

70 ml tahini

70 ml pomegranate molasses

salt

ground cumin

aleppo/cayenne pepper if more heat is required

60 ml olive oil

Mix all the ingredients in a bowl. Season to taste with cumin and salt. The dip should have she same texture as hummus so adjust accordingly.

Flatbread is another must when it comes to mezze, and the homemade version is miles  better than the storebought option. This recipe is from Hugh Fearnley Whittingstall’s River Cottage Everyday and it is incredibly easy to make. We had a few leftover and I can happily tell you that they were just as good the next day.

Flatbread, makes 8

250 g plain flour

1 tsp salt

1 tbsp olive oil/ rapeseed oil

150 ml varm water

Pour the flour and salt into a bowl. Add the oil to the water and pour it into the bowl while stiring with a wooden spoon/fork. Mix thorougly and knead with your hands for a few minutes. Cover the bowl with a tea towel or cling film and let the dough rest for 15 minutes. Divide it into eight pieces. Roll each piece flat with a rolling bin with plenty of flour. Heat up a dry frying pan on high heat, then lower to medium heat before cooking each bread for a few minutes on each side.

White breakfast rolls

This recipe is from one of the contestants (she was the runner up) in the Swedish version of Masterchef. Jennie is really talanted and I have tried the recipies from her blog before.

These rolls are delicious for breakfast at the weekend. I served them for brunch on Sunday when I had my girls over, and they went down a treat with butter, Gouda cheese, smoked ham and preserves.

The original recipe is for 20 rolls, but I made mine slightly larger and settled for 16 instead.

White breakfast rolls, makes 16-20

75 g butter

500 ml milk

2 tsp salt

2 tbsp honey

5 tsp dried yeast

1.1 – 1.2 l plain flour (400 ml strong Canadian + 700 ml plain flour)

egg wash: 1 egg + 1 tbsp milk, beaten

Maldon salt

Melt the butter and add milk, salt and honey. Heat up the mixture until finger temperature. Pour it into a bowl and add the yeast. Stir so the yeast dissolves. Add the flour and knead the dough. Leave it slightly sticky in the bowl, cover with a tea towel and leave to rise for 30 minutes. With dry yeast I usually put the bowl in the oven on 50C, so it rises properly.

Knead the dough again and cut into 4 pieces. Cut each piece into four pieces, roll and place on a baking sheet. Cover again to rise for another 30 minutes. Brush with egg wash, sprinkle salt on top and bake in 225C oven for 8-10 minutes. Leave to cool cobvered on a wire tray.

Creamy Croque Monsiuer

Since I visited Gaby in the autumn, I have been meaning to try to re-create the croque monsieur we had in a French brasserie in Winchester – it was absolutely perfect!

And this weekend, I came pretty close! Yay! 🙂

This is a perfect dish for lunch, as a snack on its own or as a light supper together with a salad. There are plenty of different ways to make a croque monsieur, but I prefer this creamy version with bechamel on top.

Croque Monsieur, serves 1

2 slices white bread

butter

2 slices of cheese

1-2 slices smoked ham

butter and flour for the roux

200 ml milk

grated cheese

grated nutmeg

salt, white pepper

Butter the breadslices, place cheese and ham in the middle of the two to make a sandwich. Heat up a frying pan with some butter and fry the sandwich on both sides on medium heat. Put the sandwich in a small oven dish. Melt the butter in a saucepan, pour in some flour to make a roux, and add milk. Stir until it thickens. Add the cheese and season with nutmeg, salt and pepper. Make the sauce really thick and pour it onto the top of the sandwich. Put the dish under the grill to gratinate it for a few minutes. Serve immediately.